


Astro & Safari Van Lift Guide: Overlanding the AWD/2WD Van (1985–2003)
A Chevy Astro van lift kit raises this boxy mid-size camper for trail work, and most owners gain clearance with front coil spring spacers, rear leaf help, and longer dampers. The right setup depends on drivetrain, model year and how much camping gear the rig carries daily.
Owners keep these vans because nothing else on the road mixes a truck frame feel, a short wheelbase and a big square cargo box. General Motors built the pair from 1985 to 2005, and the Chevrolet Astro shared showroom space with its GMC twin for two full decades. A good Chevy Astro van lift kit turns that sturdy base into a trail camper that still parks in a normal space.
Quick Summary
- A Chevy Astro van lift kit usually pairs front coil spring spacers with leaf help at the back end and longer dampers.
- Coil-sprung two-wheel-drive models take spacers, while all-wheel-drive models use torsion bars.
- A 2.5-inch or 3-inch spacer suits most overland builds.
- Fitment splits by generation, so match the kit to your build years before ordering.
- Ridetrendz lists spacers for both generations, and the team checks fitment questions daily.
This guide walks through each decision in order. It covers drivetrain splits, lift methods, tire room, installation steps, load manners, and the mistakes that waste money. The answers stay honest about what a spacer can and cannot do.
Whydo owners lift an Astro van for overland travel?
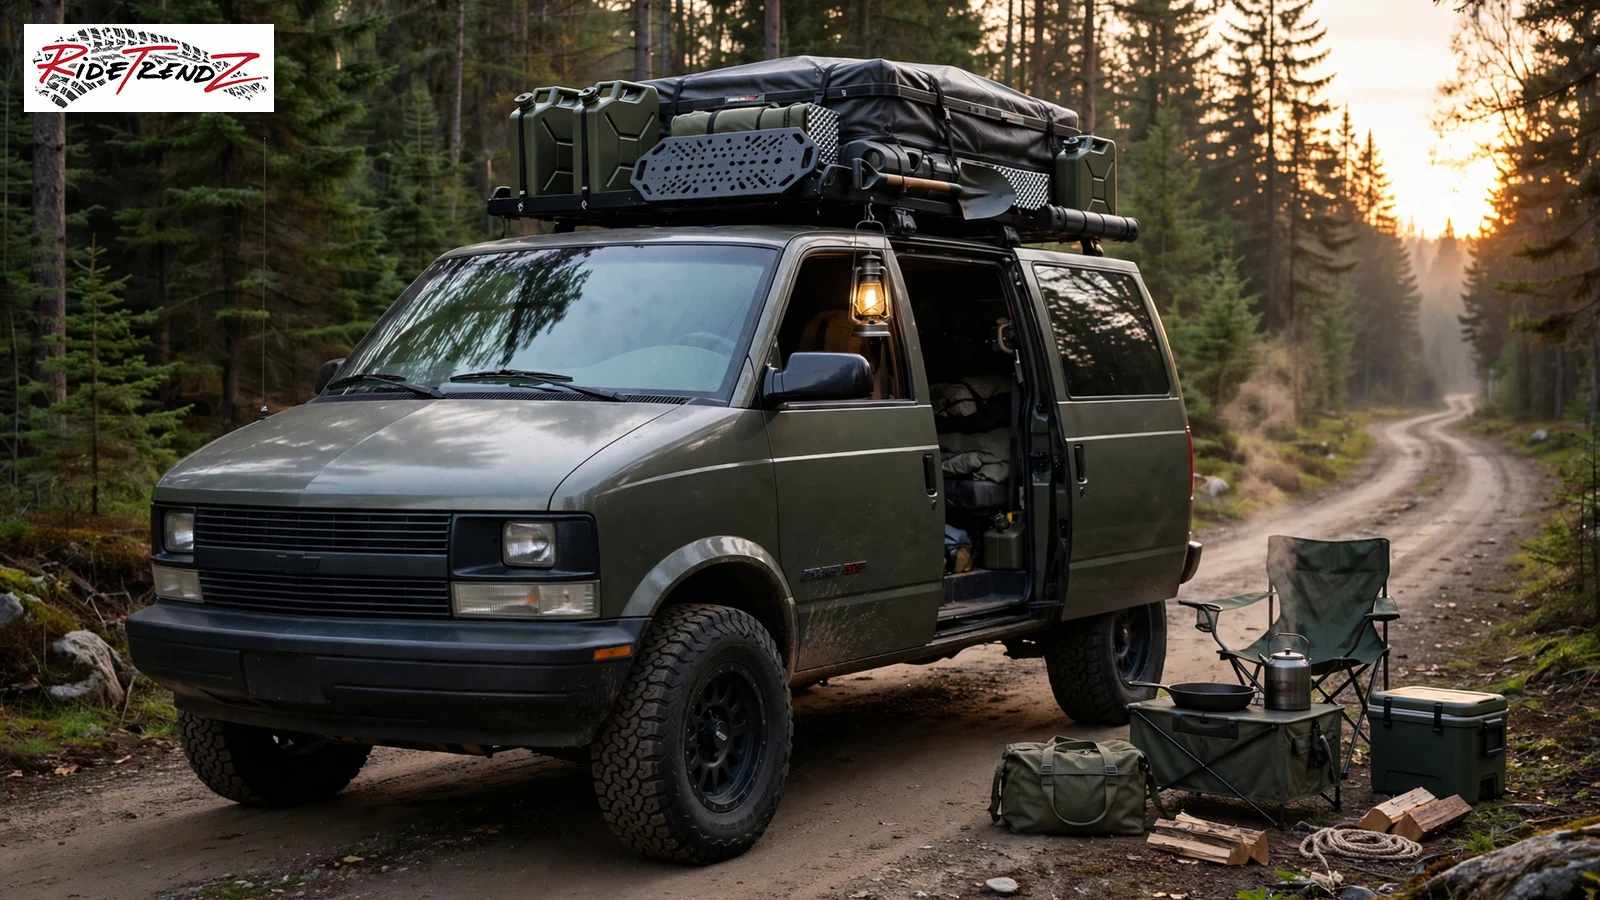
Overlanding means self-reliant travel where the journey itself is the goal, and a lifted Astro fits that idea well. The cabin sleeps two, the roof carries gear, and the short body turns around on tight forest tracks. A modest lift protects the belly on rutted access roads and opens trailhead camps that stock vans must skip.
Source, Wikipedia
The short answer for trail campers
Most owners lift for clearance, tire room, and confidence on dirt, not for looks alone. A Chevy Astro van lift kit in the mild range keeps road manners calm while taller tires roll over rocks and washboard edges. New owners can start with our simple explanation of how a lift kit works before they pick a height.
Source, Wikipedia
What does the lift actually buy you?
Ground clearance is the space between the lowest point of the vehicle and the ground, and every added inch guards the oil pan and the exhaust. Taller tires add their own share of clearance and soften sharp edges on gravel. Owners who travel back roads weekly feel the gain on the first trip, because the belly stops dragging.
Source, Wikipedia
How does Chevrolet Astro handle camper weight on the trail?
A camper conversion adds a bed, water, a fridge, and storage behind the cab. The leaf packs carry that load at stock height, and a mild lift keeps the stance level when the tanks are full. Weigh the rig after the build, because camper weight decides support needs.
Chevrolet Astro tow rating reached 5,500 pounds, and the pattern matches our classic truck lift guide, where simple hardware outlives fashion.
Source, Wikipedia
AWD versus 2WD, how the drive layout and RWD roots change the job
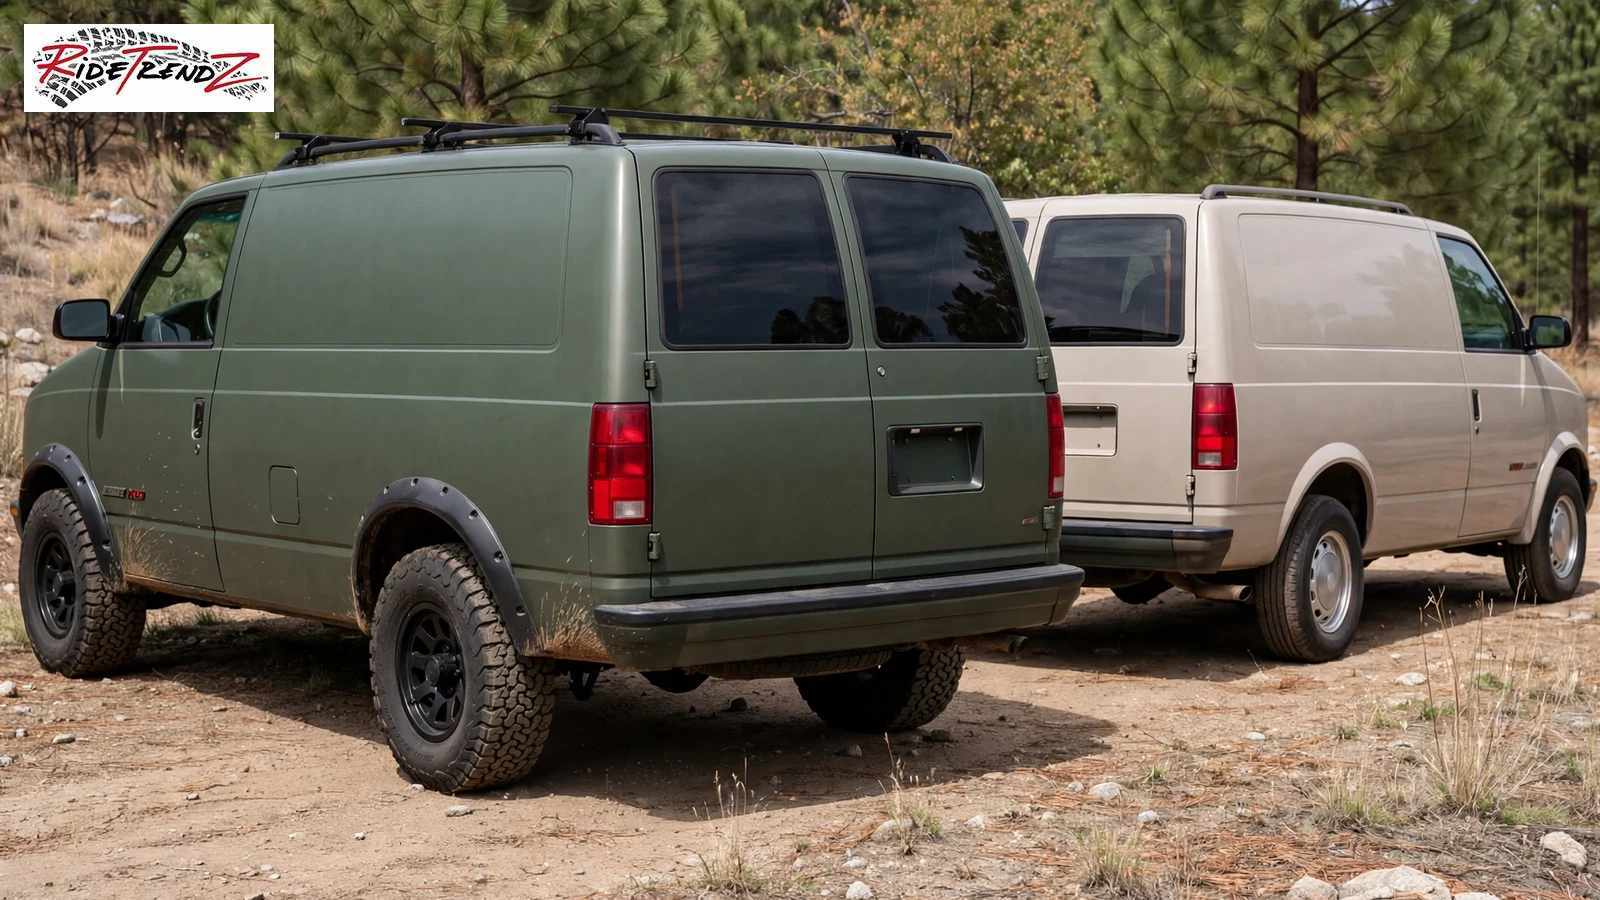
General Motors sold the pair with power going to the rear wheels first, then added an all-wheel-drive option in 1990. That split decides the whole lift plan. Coil springs carry the nose on two-wheel-drive models, while torsion bars carry the nose on all-wheel-drive models. The same split shapes other GM nameplates, and our Tahoe and Suburban drivetrain guide shows the pattern.
Source, Wikipedia
All-wheel-drive hardware and the torsion bar setup
A torsion bar is a steel bar that twists to work as a spring, anchored to the chassis at one end and meeting a lever on the control arm. All-wheel-drive examples use this layout, so owners raise them with the adjuster bolts or reindexed keys. Many listings call the result a 4x4, even though the system powers all four wheels full-time. The bars age and sag, so inspect them first.
Source, Wikipedia
Coil spring hardware on the two-wheel-drive layout
A coil spring stores energy as it compresses, and the two-wheel-drive nose rides on a pair of them. A spacer above or below the coil adds height without changing the spring itself. This is the layout the Ridetrendz spacer range serves, and a Chevy Astro van lift kit built around spacers suits owners who want a calm, reversible change.
Source, Wikipedia
Drivetrain comparison at a glance
|
Layout |
Front spring type |
Common lift route |
Trail note |
|
AWD |
Torsion bars |
Adjuster bolts, keys, matched parts |
Full-time traction, less travel |
|
RWD |
Coil springs |
Spacers above the coils |
Simple parts, easy to reverse |
The table shows why owners must name their drivetrain before ordering anything. Parts rarely swap between the two layouts, and a kit built for coils does nothing on a torsion bar nose. When in doubt, photograph what you see and compare with the fitment notes. Drivers cross-shopping a simple level can read our lift versus leveling comparison for the wider picture.
Source, Wikipedia
Body lift or spring lift, bracket kits, subframe blocks and bumper relocation
Owners choose between two families of lift. A body lift places spacers between the body and the chassis, while a spring lift changes the springs or adds spacers at the springs. Each route suits a different goal. The body route costs less, while the spring route lifts the running gear too and clears more under the floor.
Source, Wikipedia
How do body lift spacers work?
Body lift spacers raise the shell only, so the engine, gearbox, and axles stay at stock height. The gain is tire room and body clearance, and the steering shaft and bumper mounts need attention as the shell rises. A complete package includes a bracket for each bumper so the bumpers follow the body lines.
Source, Wikipedia
Subframe drop and steering shaft notes
These vans carry a bolt-on subframe that holds the engine and the front running gear, a design General Motors also used on its big wagons. Some taller builds space that cradle down to ease driveline angles, and each bracket in the set must match the new geometry. Owners check steering shaft engagement and never stretch a worn shaft.
Source, Wikipedia
Spring lift pros and cons
Pros
- Raises the whole chassis, so belly clearance grows everywhere
- Keeps bumpers, steering and body mounts in factory alignment
- Works with taller tires for a double gain in clearance
Cons
- Changes spring and damper behaviour more than a body lift does
- Needs an alignment and a damper check after fitting
- Taller versions add cost in supporting parts
A Chevy Astro van lift kit follows the spring route, not the body route. For a mild overland build, the spring route with spacers wins on simplicity, and our overview of lift types and benefits explains the family tree. Owners chasing tire room only can read our parts versus complete kit comparison first.
Source, Wikipedia
Front lift options, coil spacers, torsion bars and steer stop clearance
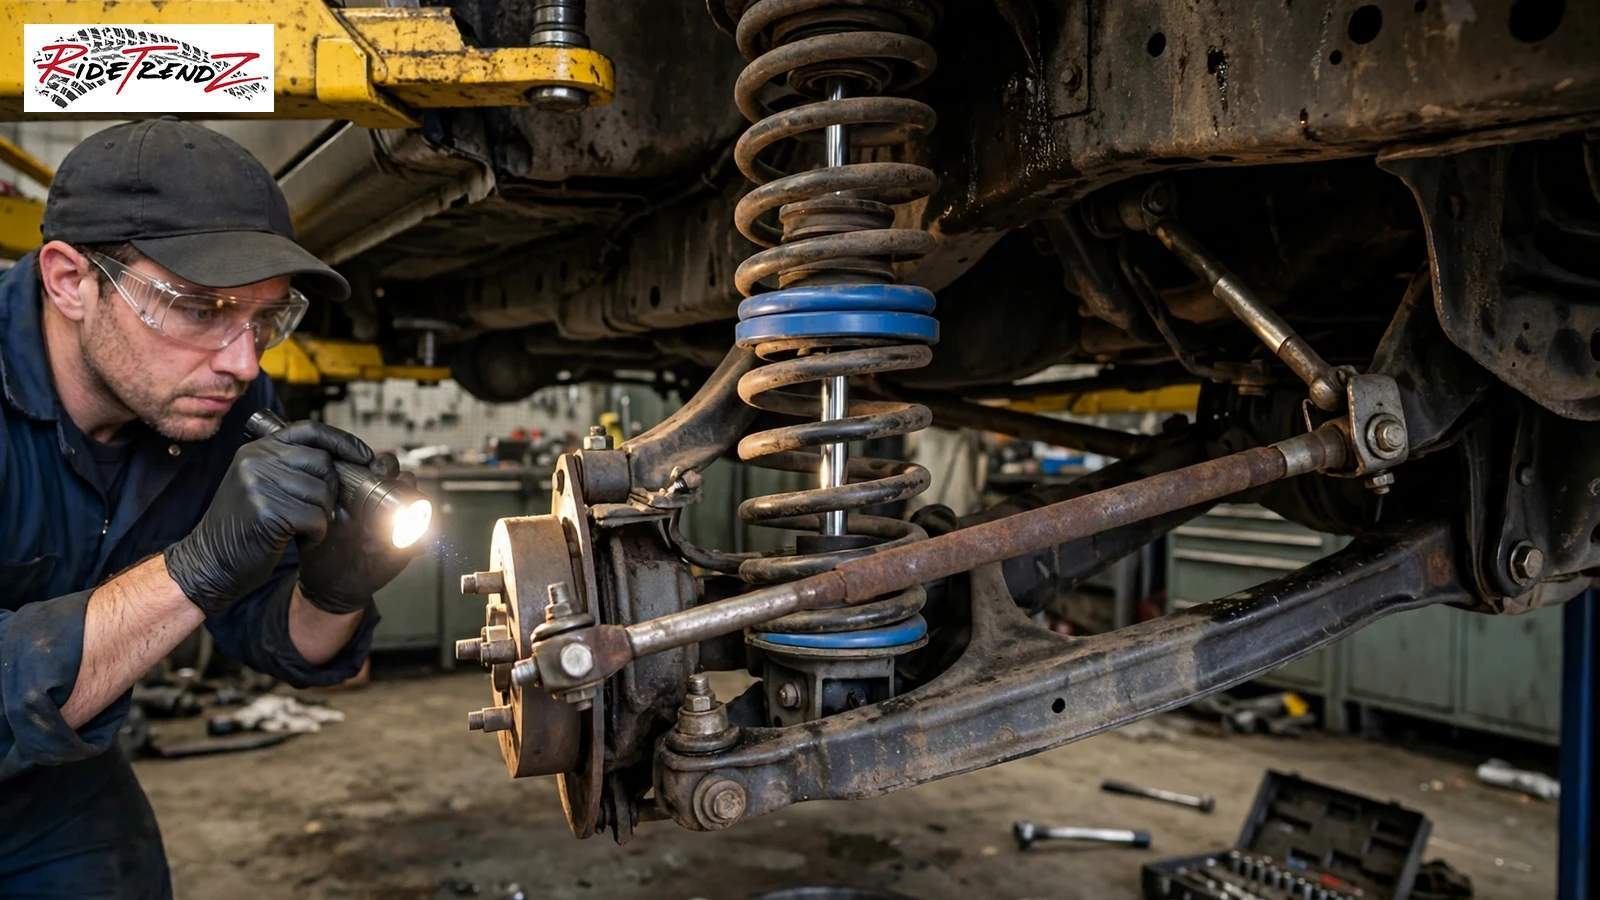
The nose decides how the whole build feels, because the nose carries the engine and does the steering. On coil-sprung models, a spacer lifts the nose with simple hardware. On torsion bar models,s the bars and keys do the work. Each layout asks for its own parts and its own checks, and mixing the two lists wastes money.
Source, Wikipedia
Coil spring spacers explain.ed
A coil spring spacer sits with the coil and adds height at that corner. Aluminum versions resist corrosion, and the Ridetrendz range uses them for these vans, with a 2.5-inch spacer kit for 1985 to 1989 models showing the shape and fitment notes.
Built on spacers, a Chevy Astro van lift kit keeps the coils, so the spring rate stays familiar, and the change reverses before a sale.
Source, Wikipedia
Torsion bar cranking on all-wheel-drive models.
Turning the adjuster bolts preloads the bars and raises the nose, and owners call that cranking. A small crank levels a sagging nose, while a big crank eats droop travel and makes the ride harsh. Measure both sides at the arch before touching a bolt. The steer stops and the ball joint angles set the safe limit.
Source, Wikipedia
Ball joints and control arm angles
The Astro front end shares much with the big GM wagons of its era, including stout ball joints. Any lift tips the lower control arm into a working angle, and tired joints complain first. Fit fresh joints first if the old ones show play. Chevy Astro Van lift kit works best on a tight front end, and our basics guide for truck owners covers the inspection order.
Source, Wikipedia
Rear lift options, leaf packs, blocks and the axle
A pack of steel leaves locates the housing and carries the load at once, which makes the tail of these vans simple and strong. Owners raise the tail with pack work, blocks or shackles, and the right choice depends on load. Heavy campers need spring help, while light day vans may need only a small block.
Source, Wikipedia
Add-a-leaf and pack rebuilds
An add-a-leaf slides one more steel leaf into the leaf spring pack and raises both height and rate. The change suits vans that squat under camper gear, and the pack gains support where it matters. A full rebuild with fresh bushings feels better still on high-mile vans, and rusty packs need new U-bolts.
Source, Wikipedia
Blocks and longer U-bolts
A lift block sits between the spring pack and the spring perch, and longer U-bolts clamp the taller stack. The method is simple and cheap, and mild heights work well on the street. Tall blocks lever against the pack under power, so keep block height modest on a van that tows or climbs.
Source, Wikipedia
Driveshaft angle and pinion notes
Raising the back changes the angle where the shaft meets the axle, and steep angles vibrate at speed. A mild lift rarely troubles the shaft, while taller setups may need a wedge or shim to calm the pinion angle. Owners planning a Chevy Astro van lift kit should budget this check. The same thinking appears in our Dodge van lift size guide, where owners match height to use.
Source, Wikipedia
Choosing an inch lift kit height for dirt road travel
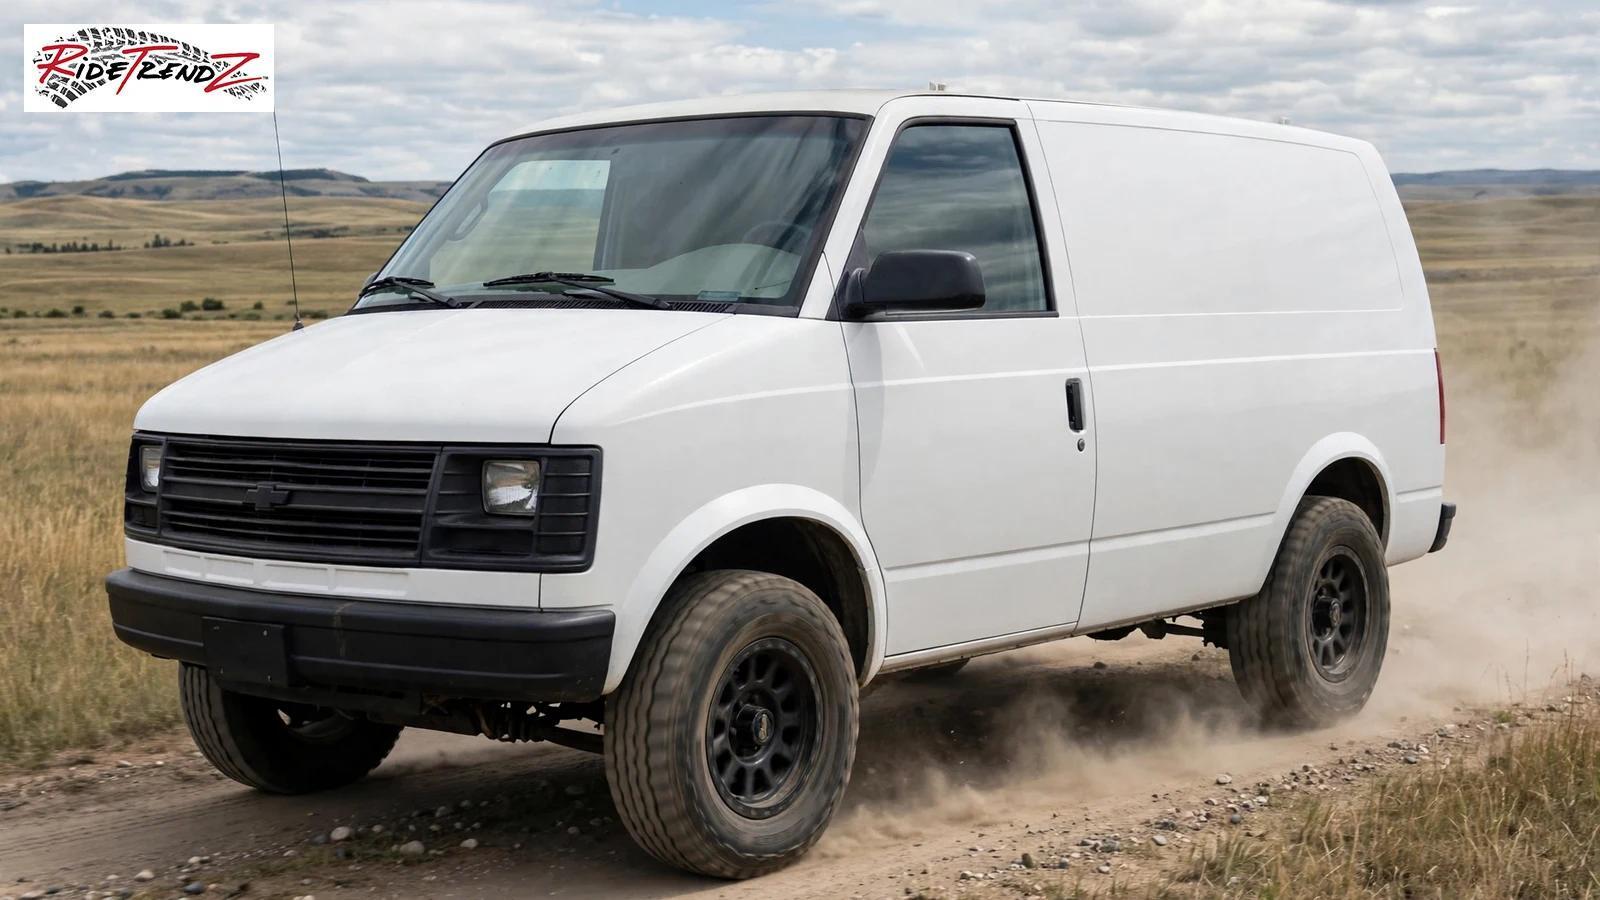
Height is a tool, not a score. Mild height clears trail obstacles and keeps manners, while tall height demands money, parts, and patience. The Ridetrendz spacer range covers the mild zone most overland owners actually use, in two heights and two generation splits. Pick the smallest height that clears your regular roads, and the van stays friendly on the daily drive.
Source, Wikipedia
The spacer range at a glance
|
Spacer height |
Model years |
Front setup |
Best for |
|
2.5 inch |
1985 to 1989 |
Coil spring spacer |
Mild trail work, stock manners |
|
3 inch |
1985 to 1989 |
Coil spring spacer |
More tire room, light camping |
|
2.5 inch |
1990 to 2003 |
Coil spring spacer |
Daily driving, weekend trails |
|
3 inch |
1990 to 2003 |
Coil spring spacer |
Heavier builds, taller tires |
Each spacer in the range fits 2WD models with coil springs, so confirm the drivetrain before ordering. Owners can compare the 3-inch spacer for 1990 to 2003 models with its smaller sibling side by side. The two heights share the same fitting method, so the choice comes down to tire plans and load rather than hardware.
Source, Wikipedia
When more height makes sense?
A Chevy Astro van lift kit at 3 inches suits owners who run rough access roads every week and carry real camping loads. The taller stance also helps departure angles on steep driveways and ditch crossings. Commuters should stay mild and keep fuel use and step-in height friendly. Our truck lift cost guide shows how supporting parts grow the budget as height climbs.
Source, Wikipedia
What drives the total cost
The spacer price is only the start. Alignment time, fresh dampers, tires and small hardware join the bill, and worn ball joints or tired leaf packs add their share. Rusty vans double the labour. A Chevy Astro van lift kit stays affordable when the owner inspects first and orders once.
Source, Wikipedia
Tire sizes, ground clearance and off-road geometry
Tires finish what the lift starts. A taller tire raises the whole rig and softens trail edges, and the lift makes room for it. Pick the tire and the height together, because each choice limits the other. A sensible pairing keeps steering feel calm and leaves clearance at full lock and full compression.
Source, Wikipedia
Reading a tire code before you buy
The sidewall code spells out section width, sidewall ratio, construction, and rim diameter in one string. Load index matters on a camper, because the tire must carry the built rig at pressure. A Chevy Astro van lift kit clears room, yet the code decides whether the tire fits the rim and the arch.
Source, Wikipedia
Breakover and approach angles
Approach angle measures the steepest ramp the nose can meet without contact, and breakover angle covers the wheelbase middle. The short 111-inch wheelbase helps these vans here, and a mild lift sharpens both angles. A Chevy Astro van lift kit plus a sensible tire gives the belly a real chance on off-road ledges and ditch edges.
Source, Wikipedia
All-terrain tread choices
A mild all-terrain tread suits mixed use, with enough void for gravel and enough contact patch for wet pavement. Aggressive mud tread roars on the highway and wears fast under a heavy camper. The Ford crowd faces the same choice, and our Ford van lift installation guide walks a sister platform through it.
Source, Wikipedia
Install steps, alignment, and the lower control arm check.
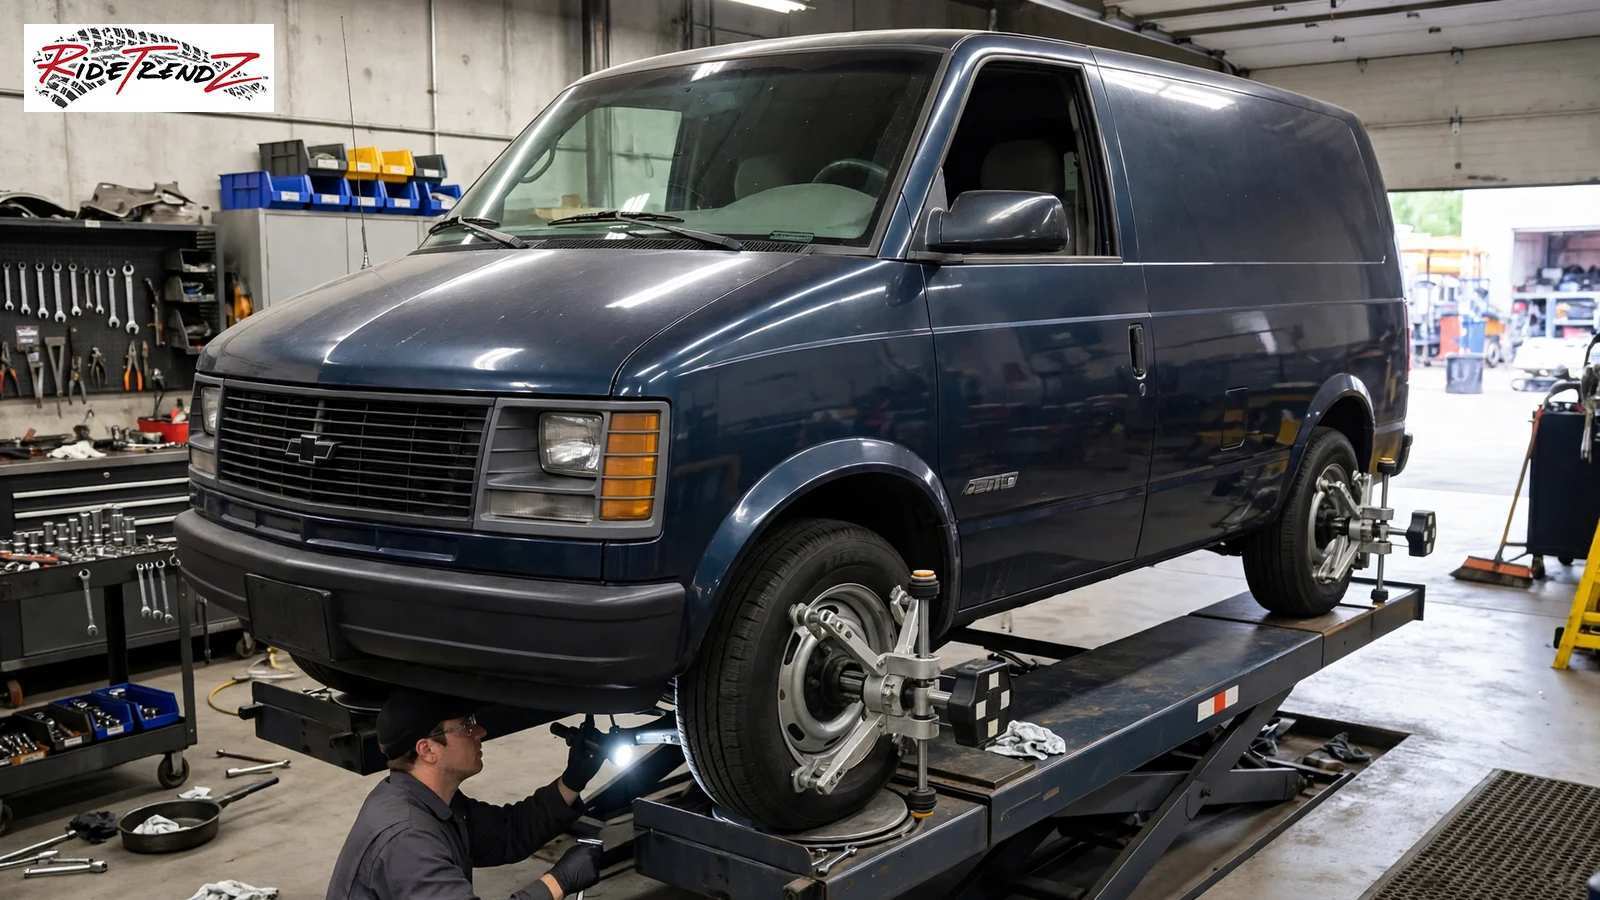
Fitting spacers is honest weekend work on a clean van, and a fight on a rusty one. The order matters more than speed. Support the body safely, work one corner at a time, and keep the factory manual open for torque values. Penetrating oil on the hardware a day ahead saves knuckles and snapped bolts on older vans.
Source, Wikipedia
Tools and prep before you start
Gather a floor jack, rated stands, spring compressors for coil work, penetratingoili,l and a torque wrench. Photograph each corner before teardown, because photos settle arguments at reassembly. Owners who prep well finish in a day, and our step-by-step installation walkthrough shows the working rhythm. A notebook for torque values and arch measurements keeps the second corner honest.
Source, Wikipedia
Step by step, the spacer installation sequence
Raise the nose and support the frame, then unload the coil with the compressor. Seat the spacer squarely with the coil, and mind the brake lines and bump stops as the arm droops. Rebuild the corner, torque to spec, and repeat on the other side. Settle the rig on its wheels before final torque, then book the alignment. A short test drive confirms the wheel sits straight.
Source, Wikipedia
Alignment specs to request
Alignment sets camber, caster and toe, and a lift moves all three. Ask the shop for a printout and keep it with the van records. Recheck the numbers after the first hundred miles, because fresh parts settle. Our guide to parts versus full kits explains when a worn part should be replaced during the same visit.
Source, Wikipedia
Common mistakes and quick fixes
The classic errors are simple. Owners skip the alignment, reuse tired U-bolts, or crank torsion bars past the safe zone and blame the parts. A clunk after fitting means a loose sway bar link or a spacer seated off-centre. Bump steer after a tall crank means the geometry ran out of room, so drop the height. Chevy Astro VVanlift kit cannot fix worn parts, so inspection comes first.
Source, Wikipedia
Journeys Off Road benchmarks, GMC Safari Astro Van fitment help and OEM check tips
Every niche has a benchmark name, and the full-package benchmark for these vans sets the bar for completeness. Owners compare spacer routes against those full packages to judge value. The smart question is which parts list matches the van, the load, and the budget. Ridetrendz answers that question with fitment notes on every spacer page, in plain words.
Source, Wikipedia
Whatdo he benchmark packages include?
Full packages bundle height at both ends, bumper relocation parts, and detailed instructions in one box. The trade-off is price and commitment, because a full package changes more of the van at once. A spacer route grows in stages, and each stage stays reversible. Owners who camp far from home often value that staged route, because each step can be checked on the road.
Source, Wikipedia
The Ridetrendz spacer range for these vans
Ridetrendz stocks aluminum coil spring spacers for generations of Chevy Astro and GMC Safari vans, in 2.5-inch and 3-inch heights. The pick for early vans is the 2.5-inch spacer kit for 1985 to 1989 models, and later vans use the 2.5-inch spacer kit for 1990 to 2003 models. A Chevy Astro van lift kit from this range keeps the OEM coils and factory ride character.
Source, Ridetrendz
Year splits that change fitment.
The first generation ran 1985 to 1994, and the second arrived for 1995 with a longer nose. A 1995 van takes the later spacer. The 2000 model year sits mid-run, and a 2000 van shares the later fitment. By 2002, the range was mature, and a 2002 van uses the same later spacer family. A 2001 van also takes the later spacer, so the split stays simple.
Source, Wikipedia
Community knowledge and owner groups
Owner communities hold the long memory of these vans. A Facebook group search surfaces build threads for almost every build, and a Facebook post with arch measurements settles arguments fast. Owners also trade notes on a FacebookMarketplacee find. A Chevy Astro van lift kit choice improves when real owners share photos and settled alignment numbers.
Source, Wikipedia
Video walkthroughs, shock choice and ride quality checks
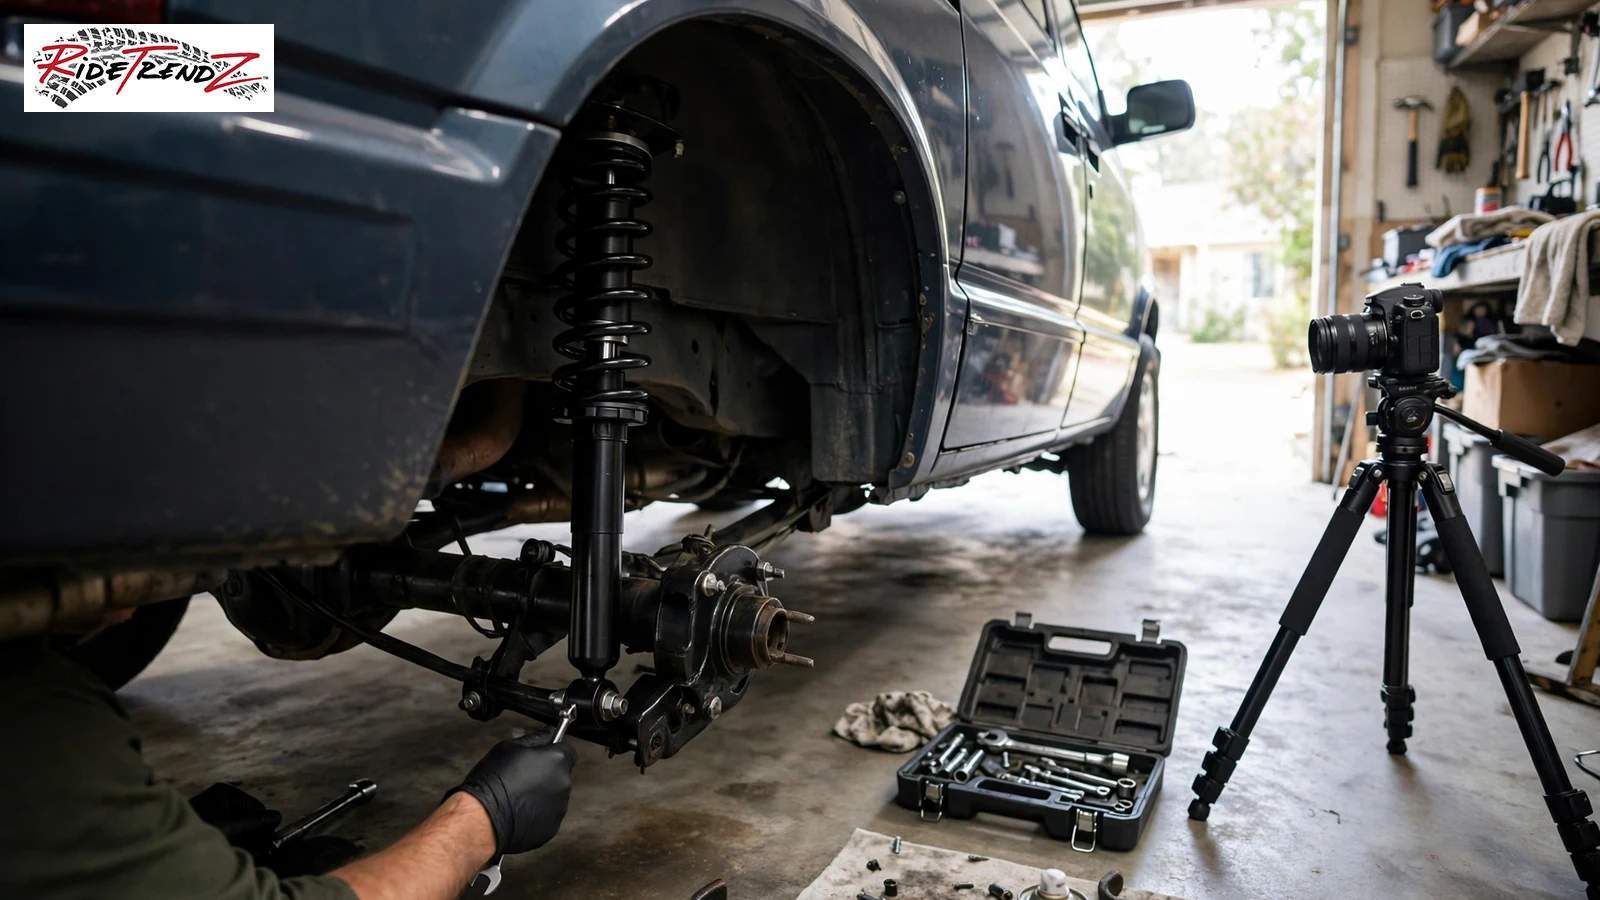
A good walkthrough saves a Saturday. Owners film spacer jobs on these vans often, and the best clips show the whole job from jack to torque. Watch one full job before starting, and note where the presenter struggles. Pause at the spring seating shot, because that frame shows the detail that matters most.
Source, Wikipedia
What a good walkthrough video shows?
Search YouTube for the model and the job, then pick the clip that shows the whole corner from jack to torque. Good footage names the socket sizes, shows the spring seated correctly, and ends with alignment numbers. Poor footage skips the hard parts. AChevy Astroo van lift kit job films well because the parts are simple.
Source, Wikipedia
Longer dampers and travel notes
A shock absorber controls the spring after a bump, and a lifted corner asks more travel from it. Stock dampers top out early on a raised van. Compare extended lengths against OEM figures before ordering, and check the lower mount style twice. Our comparison of lift shocks and stock shocks explains the valving side, and our DT9000 van damper guide shows a worked example.
Source, Wikipedia
Reading ride quality after the change
A mild spacer build should ride close to stock. New noises mean something moved, and a re-torque at one hundred miles catches most of it. Keep notes on pressures and loads, because a camper feels different full than empty. Compare the same road before and after the lift, at the same tire pressure, for an honest read.
Source, Wikipedia
Conclusion: matching the height to your build
The winning build matches the van, the load, and the roads you actually travel. AChevy Astroo van lift kit in the mild spacer range serves most owners of Chevy Astro and GMC Safari vans, because it clears real obstacles and keeps the rig friendly daily. A 2000 model follows the later fitment, and an early van follows the first split.
Start with the drivetrain check, pick the height honestly, and order once. A Chevy Astro van lift kit rewards that patience every mile, and the 3-inch spacer kit for 1990 to 2003 models waits when the taller route is right. Ridetrendz keeps fitment notes plain, and our guide to lift kit lifespan and care shows how to keep the setup honest for years.
Source, Ridetrendz
Frequently asked questions
How much lift can a stock Astro handle before other parts need changes?
A stock Astro handles a mild spacer lift well, and most owners stay near 2.5 to 3 inches at the nose. Taller setups ask for longer dampers, alignment time, and driveline checks. The mild range protects the steering geometry. Fresh ball joints and honest bushings matter more than the last half inch of height.
Source, Wikipedia
Does lifting the van change fuel economy?
Yes, a lift usually costs a little fuel economy, because taller tires and a higher stance add drag and rolling resistance. The change stays modest at mild heights. Our guide to lift kits and gas mileage breaks down the drag side in full.
Source, Wikipedia
Can a two-wheel-drive example handle forest roads?
Yes, an RWD example handles graded forest roads well with a mild lift and sensible tires. Momentum and line choice matter more than driven wheels on dry dirt. Soft sand and deep mud remain the honest limits of the layout.
Source, Wikipedia
Just bought ahigh-mileagee Safari, what should I check before lifting it?
Check the springs, the ball joints, and every rubber bushing first, because worn parts ruin a fresh lift. A sagging leaf pack needs attention first. Fresh fluids and a brake check complete the honest start. Budget for the tired parts you find, because the lift only works as well as the hardware under it.
Source, Wikipedia
My van leans to one side after fitting, what gives?
A lean usually means one spring settled differently or a spacer seated off-centre on one corner. Measure both arches on flat ground, then reseat the low corner and re-torque. Check tire pressures first, because one soft tire fakes a lean. A tape measure at each arch tells the truth in minutes.
Source, Wikipedia
Does Ridetrendz sell a spacer kit for a 1995 van?
Yes, Ridetrendz lists the later-generation spacer for that van, in both 2.5-inch and 3-inch heights. That model opens the second generation, so it follows the 1990 to 2003 fitment family. The product page states the years in plain words.
Source, Ridetrendz
How do I confirm fitment with Ridetrendz before ordering?
Send the team the build details, your drivetrain, and a photo of the spring area, and they will match the spacer to the van. That check prevents the wrong box arriving. Ridetrendz would rather answer twice than ship the wrong part once.
Source, Ridetrendz
Source, Wikipedia