

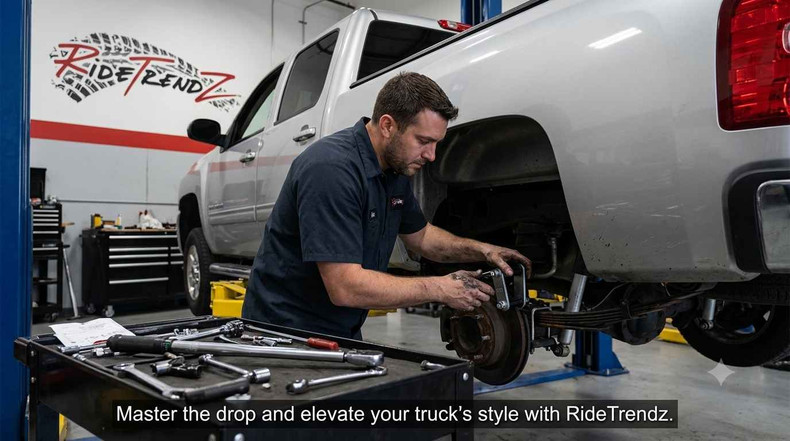
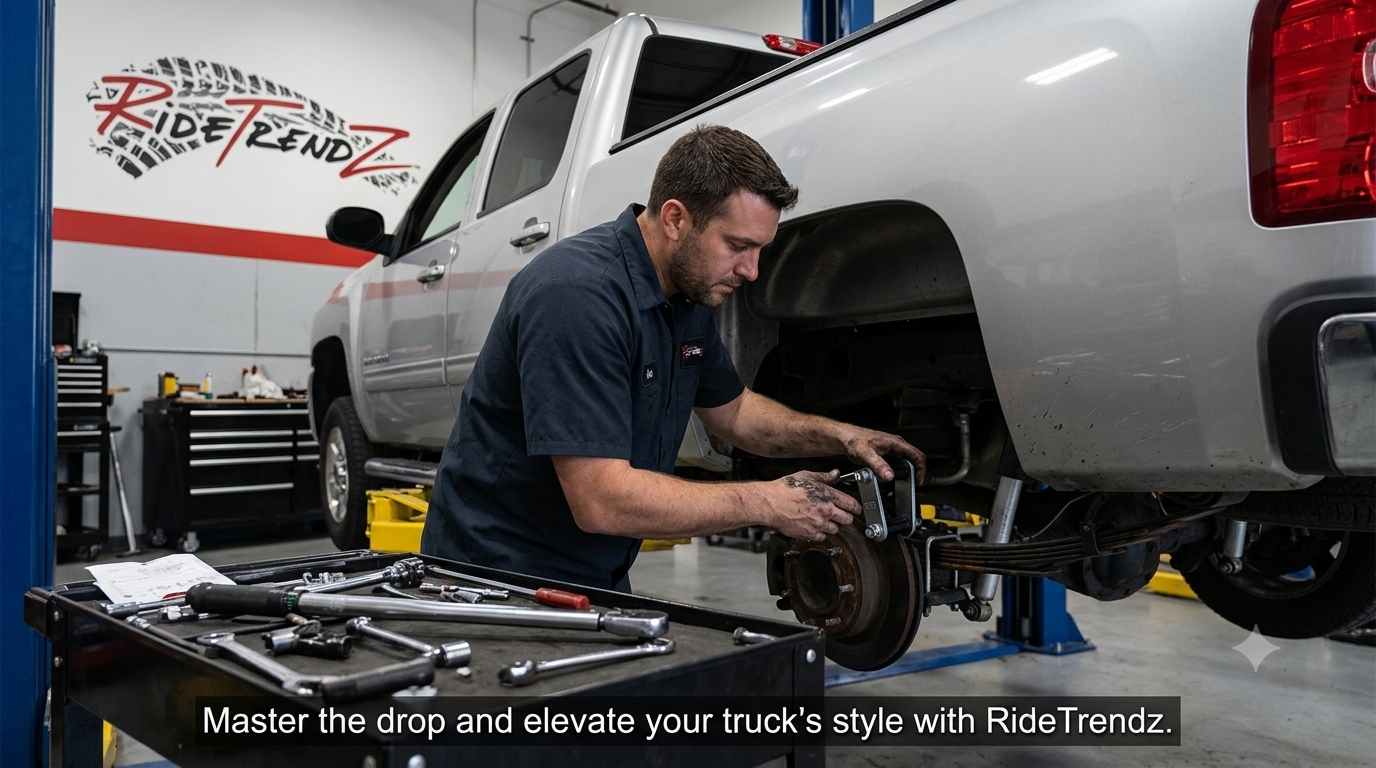
So you want a cleaner stance, better handling, and a head-turning look? Learning how to install a lowering kit on a truck is one of the best upgrades you can make. At RideTrendz, we make this process straightforward — from choosing the right kit to getting every bolt torqued properly.
This guide covers everything: tools, steps, tips, and what to watch out for. Whether you're dropping your Ford F-150, Chevy Silverado, or Dodge Ram 1500, we've got the right kit and expertise to help you nail this job.
Why Lower Your Truck? The Real Benefits
Before diving into the lowering kit installation guide, it helps to understand why so many truck owners are making the switch.
Key Benefits at a Glance:
|
Benefit |
Impact |
Truck Owner Rating |
|
Improved handling |
Lower center of gravity reduces body roll by up to 30% |
★★★★★ |
|
Better aerodynamics |
Reduced drag improves fuel economy by 1–3 MPG |
★★★★☆ |
|
Aggressive stance |
Visual upgrade — trucks look wider and more planted |
★★★★★ |
|
Reduced wheel gap |
Cleaner look, especially on lifted-stock trucks |
★★★★☆ |
|
Easier entry/exit |
Lower ride height makes cab access more convenient |
★★★★☆ |
These aren't just cosmetic wins. A properly installed truck lowering kit transforms how your vehicle handles curves, braking, and highway cruising. RideTrendz kits are engineered to deliver all of these benefits without sacrificing ride quality.
What Comes in a Lowering Kit?
Understanding your components makes the lowering kit DIY process much easier. Here's what you'll typically find in a RideTrendz kit:
|
Component |
Function |
Found In Kit Type |
|
Drop coil springs |
Replace OEM springs for lower ride height |
Front or full kits |
|
Rear shackles/hangers |
Repositions leaf spring mount lower |
Rear lowering kits |
|
Drop spindles |
Lowers front without changing spring rate |
Full drop kits |
|
Axle flip kit |
Flips rear axle for maximum drop |
Max-drop kits |
|
Nitrogen gas shocks |
Maintains ride quality after drop |
Complete kits |
|
Hardware & instructions |
All bolts, spacers, and guides included |
Every RTZ kit |
RideTrendz includes RTZ Primo Nitrogen Gas Charged Shocks in most complete kits. These shocks are matched specifically to the drop height — no guessing, no mismatched components.
You can also explore our full range of truck lowering kits to find the exact kit for your year, make, and model.
Tools You Need Before Starting
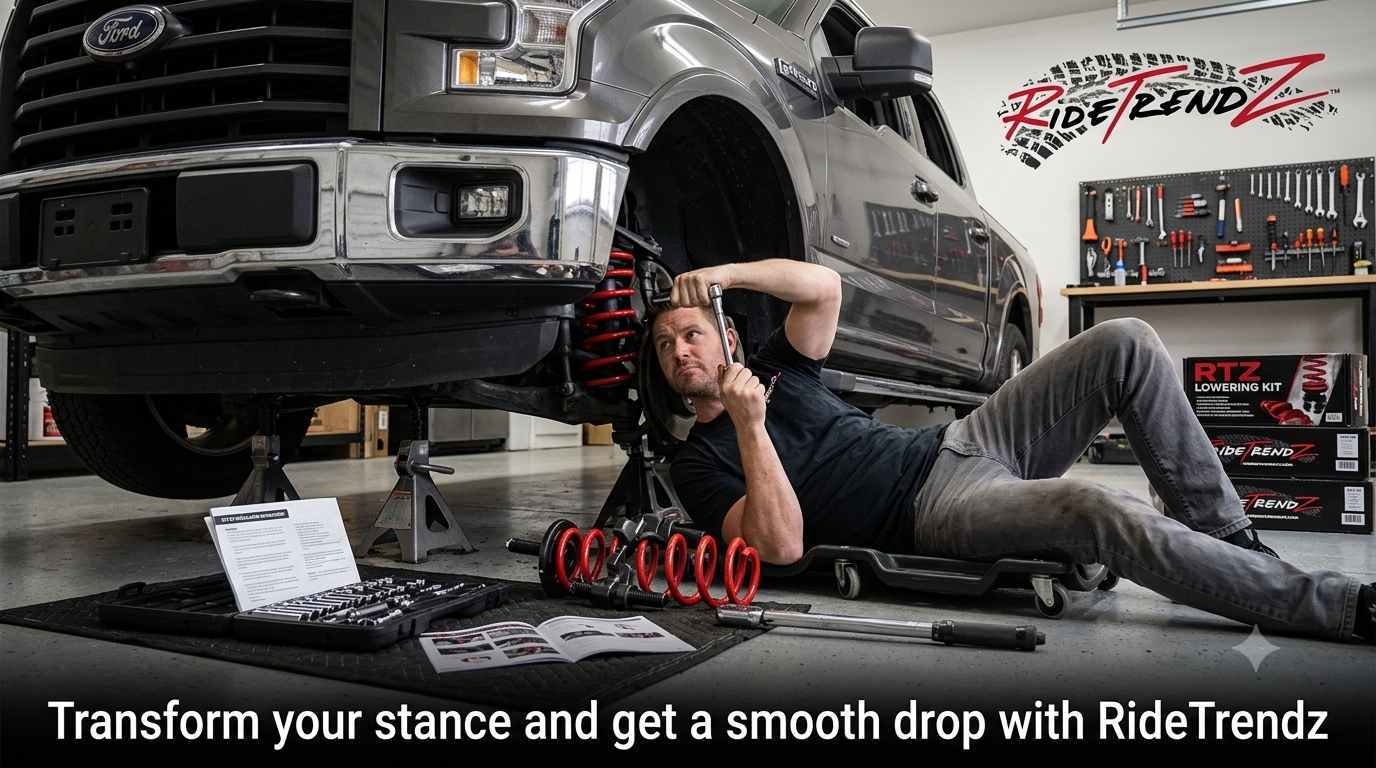
A successful lowering kit installation starts with having the right tools on hand. Don't start this job without these:
- Floor jack and jack stands (rated for your truck's weight)
- Spring compressor — essential for safe coil spring removal
- Torque wrench — for accurate final tightening
- Socket set (metric and SAE, 3/8" and 1/2" drive)
- Breaker bar — for stubborn OEM bolts
- Pry bar — for separating suspension components
- Penetrating oil — for rust on older trucks
- Alignment gauge or alignment tool
- Shop manual or RTZ installation instructions
Pro tip from the RideTrendz team: always soak rusted bolts in penetrating oil the night before. This alone saves hours on older trucks like the C10 or F-100 series.
Safety First: What Not to Skip
Every truck suspension lowering job carries real risk if you cut corners. Here are non-negotiable safety steps:
- Always use jack stands — never rely on a floor jack alone
- Wear safety glasses when compressing springs
- Never reuse stretch bolts — replace them
- Check torque specs in the RTZ instruction sheet — they vary by model
- Work on flat, solid ground only
How to Install a Lowering Kit on Your Truck: Step-by-Step
This is the core of the lowering kit installation guide. Follow each step carefully. The process below covers the most common setup: drop coil springs front + rear shackle/hanger kit.
Step 1 – Prepare the Vehicle
Park on a level surface. Loosen the lug nuts before jacking up the truck. Engage the parking brake and chock the wheels. Disconnect the battery negative terminal if removing electrical components near the suspension.
How long does it take to install a lowering kit at this stage? Prep takes about 15–30 minutes depending on your truck's condition.
Step 2 – Lift the Truck and Remove Wheels
Use a floor jack to lift one corner at a time. Place jack stands under the frame rails. Remove the wheels and set them aside. You now have full access to the suspension.
Step 3 – Remove the Front Strut or Coil Spring Assembly
This varies by truck. On most 2WD trucks, the process involves:
- Unbolting the sway bar end links
- Disconnecting the ABS wire bracket
- Removing the lower control arm bolts
- Carefully lowering the control arm to release spring pressure
- Removing the OEM coil spring
Use a spring compressor on any coil spring before removal. Never release a compressed spring without the compressor in place — this is a life-safety step.
Step 4 – Install the New Drop Coil Springs
Compress the new RTZ drop coil spring with your spring compressor. Seat it correctly in the lower control arm perch. The spring must sit flush — any misalignment causes noise and premature wear.
Reinstall the control arm, torque all bolts to spec, and reconnect the end links and ABS bracket. Repeat on the other side. Front installation typically takes 1.5 to 2.5 hours per side.
Step 5 – Install the Rear Shackle and Hanger Kit
The rear portion of a truck lowering kit typically uses drop shackles or hangers to reposition the leaf spring mounting point.
- Support the rear axle with a floor jack
- Remove the OEM shackle bolts
- Install the RTZ drop shackles in place
- Torque to spec per the included RTZ instruction sheet
For kits with an axle flip, the U-bolts and axle perch are repositioned. This achieves maximum drop — up to 6 inches on some applications — and requires slightly more time.
Step 6 – Install the New Shocks
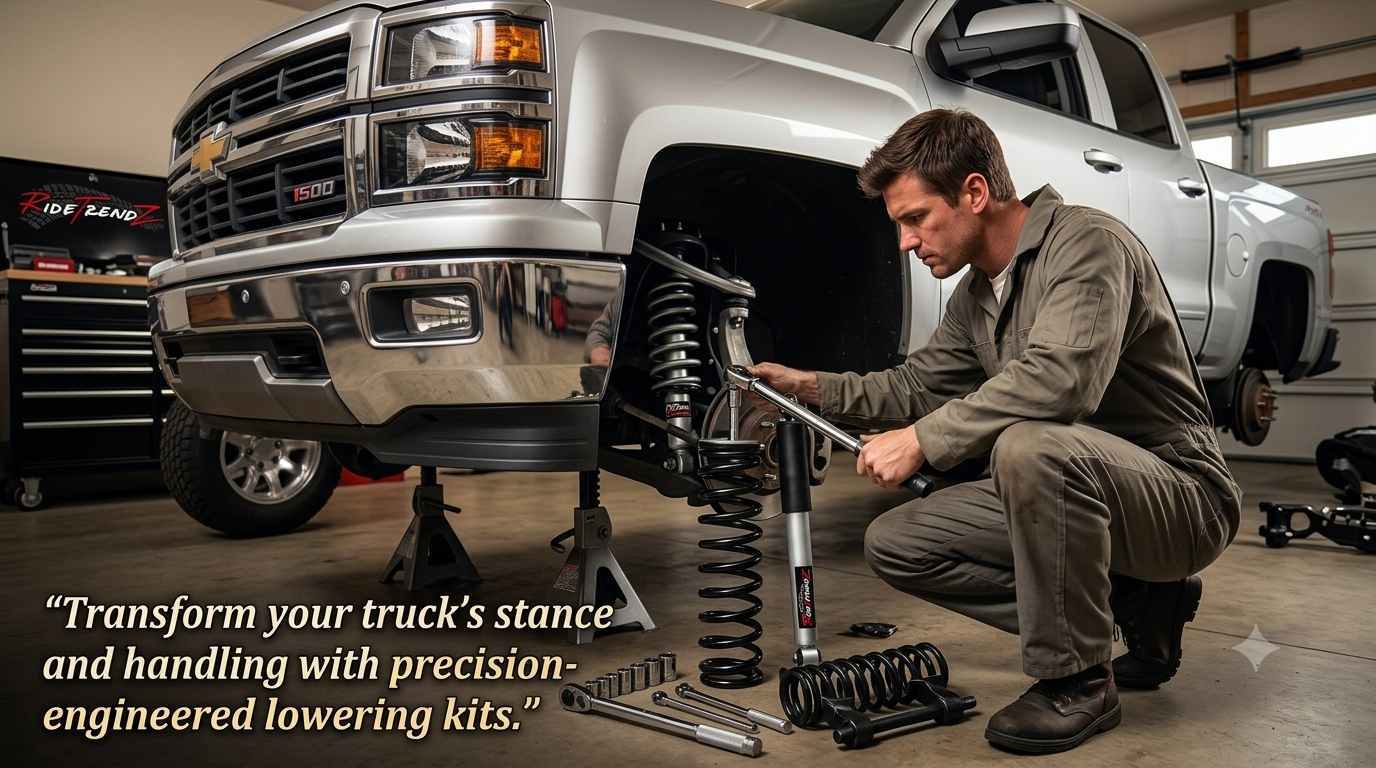
RideTrendz kits include RTZ Primo Nitrogen Gas Charged Shocks matched to your exact drop height. Install them in place of the OEM shocks:
- Remove OEM shock upper bolt
- Remove OEM shock lower bolt
- Install RTZ shock, torque to spec
- Repeat all four corners if doing a full kit
These shocks are pre-set for the drop — they don't need adjustment. That's the RTZ advantage: everything is engineered to work together.
Step 7 – Reinstall Wheels and Lower the Truck
Thread lug nuts on by hand first. Lower the truck off the jack stands using the floor jack. Once on the ground, torque the lug nuts to spec in a star pattern. Bounce the truck a few times to settle the suspension.
Step 8 – Check Alignment and Test Drive
This step is critical. Any change to suspension geometry affects wheel alignment. Drive to an alignment shop immediately after installation. Skipping this step causes uneven tire wear and handling issues.
A proper alignment adds $80–$120 to the job but protects your tire investment and keeps the truck handling as designed.
How Long Does It Take to Install a Lowering Kit?
The most common question we get: "How long does it take to install a lowering kit?" Here's a realistic breakdown:
|
Kit Type |
DIY Time Estimate |
Shop Time Estimate |
|
Front coil springs only |
2–4 hours |
1.5–2.5 hours |
|
Rear shackle/hanger kit |
1.5–3 hours |
1–2 hours |
|
Complete front + rear kit |
4–7 hours |
3–5 hours |
|
Max drop with axle flip |
6–9 hours |
4–6 hours |
|
Full kit + new shocks |
5–8 hours |
4–6 hours |
For a first-time lowering kit DIY job, budget a full day. Experienced mechanics cut these times significantly. Either way, RideTrendz instructions are written clearly — you won't be guessing.
DIY vs. Professional Installation: Pros and Cons
|
Factor |
DIY Installation |
Professional Shop |
|
Cost |
Save $200–$500 in labor |
Add $200–$500 to total |
|
Time |
4–9 hours (first timer) |
3–5 hours |
|
Tools required |
Spring compressor, torque wrench, jack |
Shop already equipped |
|
Warranty |
RTZ parts warranty still applies |
Labor warranty may be added |
|
Risk level |
Moderate — follow instructions carefully |
Lower — professional hands |
|
Learning value |
High — you understand your suspension |
None |
Whether you choose to DIY or hand it off, RideTrendz kits are designed for straightforward installation. Clear hardware, logical fitment, and matched components remove the guesswork.
Common Mistakes to Avoid
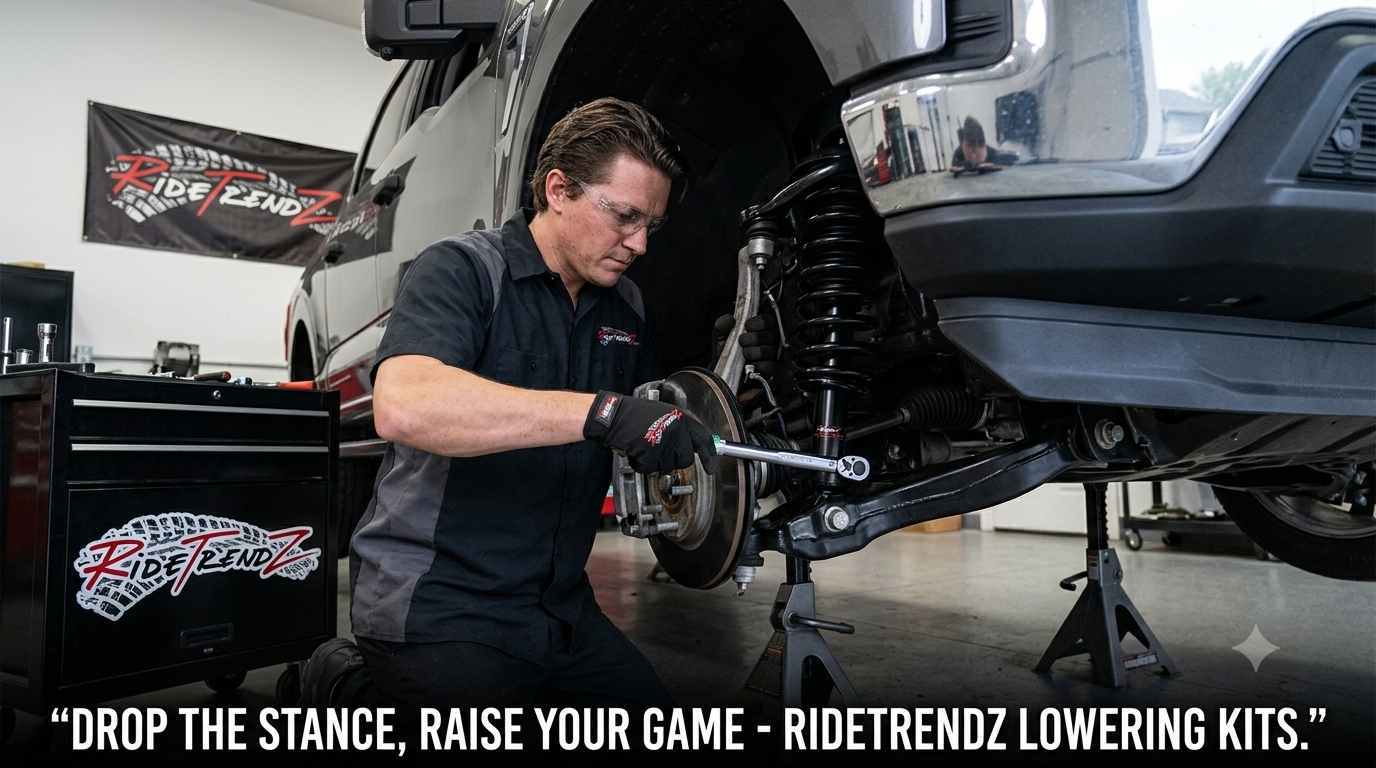
Even experienced wrenchers make these errors on their first lowering kit installation:
- Skipping alignment — always align after any suspension change
- Using OEM shocks — stock shocks are too long for a lowered stance, causing handling issues
- Under-torquing bolts — use a torque wrench, not just "tight enough"
- Wrong kit for your model — V6 and V8 kits differ; always verify fitment
- Ignoring bushing condition — inspect all bushings while you're in there
- Rushing the rear — rear leaf spring work takes patience; don't force components
At RideTrendz, we make fitment easy. Every kit on our site is listed with the exact year, make, model, and engine specification. No guessing. No returns for the wrong part.
Why Choose RideTrendz Lowering Kits?
There are plenty of suspension lowering kit suppliers out there. Here's why truck owners keep coming back to RideTrendz:
- Matched components — shocks, springs, and hardware engineered together
- Extensive fitment database — kits for Ford, Chevy, GMC, Dodge, Toyota, Nissan, and more
- RTZ Primo Nitrogen Gas Shocks — pre-tuned to your specific drop height
- Doestch Tech DT9000 Shocks — premium option for maximum performance
- Clear installation instructions — written for real people, not just engineers
- Complete kits or individual parts — buy what you need, nothing extra
- Kits for every drop level — 1", 2", 3", 4", 5", and more
Whether you're dropping a 1997–2003 Ford F-150, a 1999–2006 Chevy Silverado 1500, or a 2002–2008 Dodge Ram 1500, RideTrendz has a kit ready to ship.
Learn More: RideTrendz Expert Resources
We don't just sell parts — we share knowledge. Before or after your install, these resources from our blog will help you make smarter decisions:
- Lowering Your Truck: Benefits, Risks & The Right Lowering Kit to Buy — full breakdown of what to expect before you start
- Lift Shocks vs. Stock Shocks: What You Really Need After a Lift — understand why matched shocks matter
- How to Lower a Chevy Silverado: Lowering Kit Guide for 1988–2013 — model-specific guidance for Silverado owners
- Lift Parts vs. Complete Lift Kit: Which to Buy — applies directly to lowering kit buying decisions too
Popular Truck Models We Cover
RideTrendz carries lowering kits for virtually every major truck platform. Here are some of the most popular:
|
Vehicle |
Available Drop Range |
Kit Type Available |
|
Ford F-150 (1987–2003) |
2"–6" front and rear |
Springs, spindles, shackles, flip kits |
|
Chevy Silverado 1500 (1988–1998) |
2"–7" front and rear |
Full drop kits with shocks |
|
Chevy Silverado 1500 (1999–2006) |
2"–7" front and rear |
Spindle/spring combos, flip kits |
|
Dodge Ram 1500 (1994–2001) |
2"–6" front and rear |
Coil springs, shackles, flip kits |
|
Dodge Ram 1500 (2002–2008) |
2"–6" front and rear |
Full kits with RTZ shocks |
|
Ford Ranger (1998–2013) |
2"–5" front and rear |
Coil springs, spindles, flip kits |
|
GMC Sierra 1500 (1999–2006) |
2"–7" front and rear |
Complete kits with shocks |
|
Dodge Dakota (1987–2004) |
2"–5" front and rear |
Coil springs, block kits, shocks |
Browse the full list and find your exact kit at RideTrendz Lowering Kits.
After Installation: Maintenance Tips
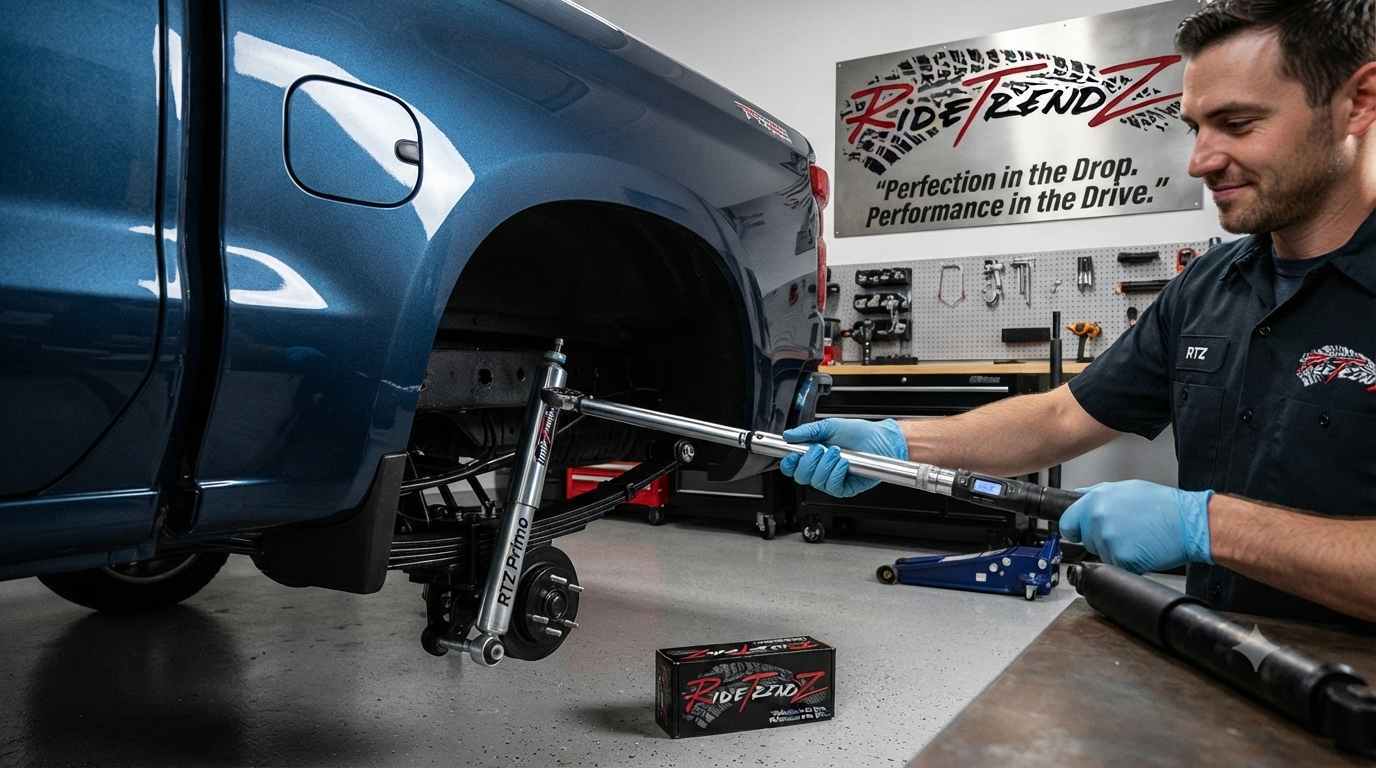
Once your truck lowering kit is installed, a little maintenance keeps everything working perfectly:
- Re-torque at 500 miles — suspension bolts can settle slightly after the first drives
- Check alignment again at 5,000 miles — especially if you notice any pull
- Inspect shocks every 15,000 miles — look for leaks or excessive bounce
- Watch for rubbing — some tire/wheel combinations may rub at full lock after lowering
- Replace worn bushings — lowered suspension puts more stress on rubber components
Conclusion
Knowing how to install a lowering kit on a truck puts you in control of one of the most satisfying upgrades you can make. The process is manageable for any mechanically inclined person with the right tools and a quality kit.
RideTrendz makes it even easier. Our lowering kit installation packages are complete, matched, and engineered specifically for your truck. From RTZ Primo Nitrogen Gas Shocks to precision-engineered drop coil springs and rear shackle kits, every component is ready to bolt in.
Don't settle for generic suspension parts. Choose RideTrendz lowering kits and drop your truck the right way — with parts that fit, instructions that make sense, and shocks that keep your ride smooth.
Frequently Asked Questions
1. How long does it take to install a lowering kit on a truck?
A complete lowering kit installation typically takes 4–8 hours for a DIY install. A professional shop can complete the job in 3–5 hours. Time varies by kit type and truck model.
2. Can I install a lowering kit myself at home?
Yes. A lowering kit DIY install is achievable with basic tools, a spring compressor, and the RTZ instruction sheet. Always follow torque specs and get a professional alignment afterward.
3. Do I need new shocks with a lowering kit?
Absolutely. OEM shocks are too long for a lowered stance. RideTrendz complete kits include RTZ Primo Nitrogen Gas Charged Shocks matched to your exact drop for optimal ride quality.
4. Will a lowering kit affect my truck's towing capacity?
A moderate drop of 2–3 inches has minimal effect on towing. Larger drops may reduce clearance. Always check your truck's spec sheet and choose the right suspension lowering kit for your use case.
5. How do I know which lowering kit fits my truck?
RideTrendz lists every kit by year, make, model, engine, and drivetrain. Browse ridetrendz.com/lowering-kit/ and filter to your exact truck. No guessing required.