
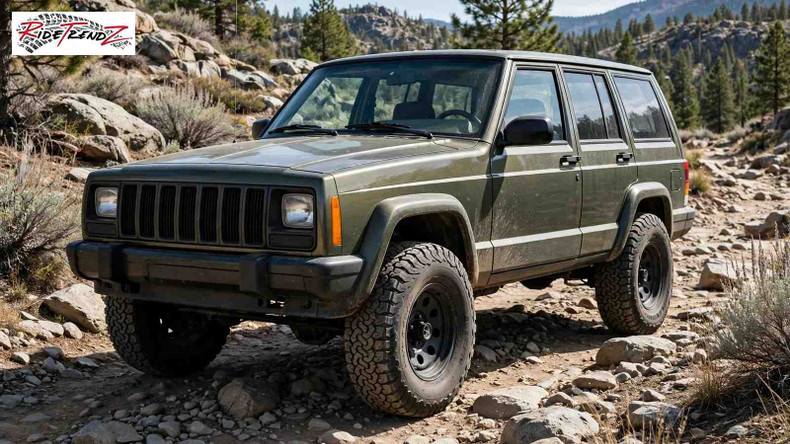
Jeep Cherokee XJ Budget Boost and Lift Guide
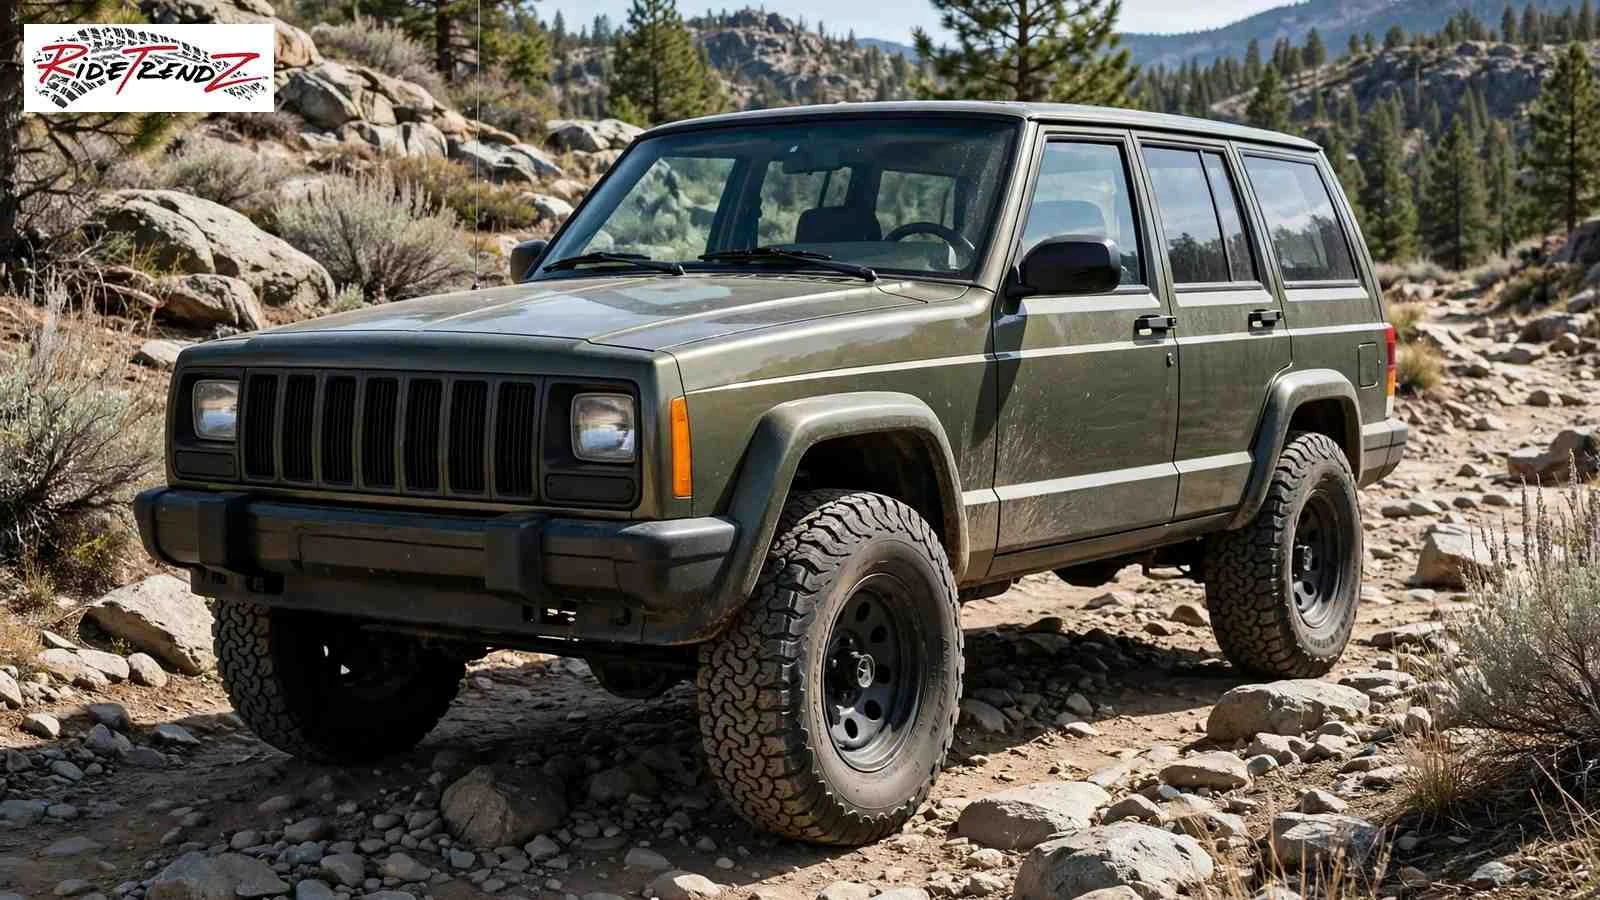
A jeep cherokee xj budget boost is the cheapest way to lift an XJ, using front coil spacers and rear shackles or an add a leaf for an inch or two of height and room for tires. This guide covers fitment from 1984 to 2001, the parts that matter, the install order, and where a jeep cherokee xj budget boost stops being enough. The team at Ridetrendz built it around hardware like the front aluminum coil spring spacers owners fit first.
Quick Summary
- A jeep cherokee xj budget boost lifts your Cherokee an inch or two with coil spacers up front and shackles at the rear.
- Most boosted XJs run 30 inch tires, while a stock height truck rubs past the factory tire sizes.
- Stock shocks and brake lines survive a 2 inch boost, keeping the parts list short.
- Driveline vibrations stay rare at boost height, so owners skip the slip yoke eliminator until they go taller.
- Fitment splits by year and drive layout, so check XJ parts against the product page before ordering.
What a jeep cherokee xj budget boost actually is?
A jeep cherokee xj budget boost is a small lift built from spacers and shackles rather than new springs. The XJ front rides on coil springs and the rear on leaf springs, so a spacer above each coil and a longer rear shackle adds height while the factory ride and steering manners stay untouched.
Coil spacers up front and shackles out back
The front half is a pair of spacers on the coil springs, and spacer thickness sets the lift gained. The rear half is extended shackles that drop the leaf spring eye, raising the body by about half the added length. The XJ front aluminum coil spring spacers show the simple front half.
Why the boost stops at an inch or two?
A jeep cherokee xj budget boost stays honest at an inch or two because the truck was engineered around stock height. Push past 2 inches on spacers alone and the control arms run out of droop, the track bar pulls the axle off center, and the driveshaft angles complain. Our explainer on what a suspension lift kit is shows where each style stops making sense.
Budget boost parts against a full lift kit
The table below sums up the trade. A boost reuses springs, shocks and arms, so the bill stays tiny and the install stays short. A full kit replaces springs and adds arms, a track bar and often a slip yoke eliminator, costing more but supporting taller lifts and bigger tires.
|
Part or area |
Budget boost |
Full lift kit |
|
Front lift method |
Coil spring spacers |
New coil springs |
|
Rear lift method |
Shackles or add a leaf |
New leaf springs |
|
Typical height |
1 to 2 inches |
3 inches and up |
|
Tire room |
About 30 to 31 inch |
33 inch and larger with trimming |
|
Extra parts needed |
Very few |
Arms, track bar, driveline work |
|
Best for |
Daily drivers and mild trails |
Dedicated trail builds |
Fitment by year across the xj cherokee run
Jeep built the xj cherokee from 1984 to 2001 on the same unibody shell and axle layout, so one budget boost recipe fits two decades of trucks. Small changes matter for parts buying, including axle splines and brakes, yet the coil and leaf arrangement never changed. Check your year before ordering.
Early, mid and late xj differences that matter
Early trucks run simpler Renix era hardware, mid run trucks brought the high output 4.0 litre engine, and the 1997 to 2001 refresh sharpened the body while keeping the same suspension. A XJ budget boost fits all three eras, and the spacer fitment notes list the full 1984 to 2001 spread.
Comanche mj fitment notes for pickup owners
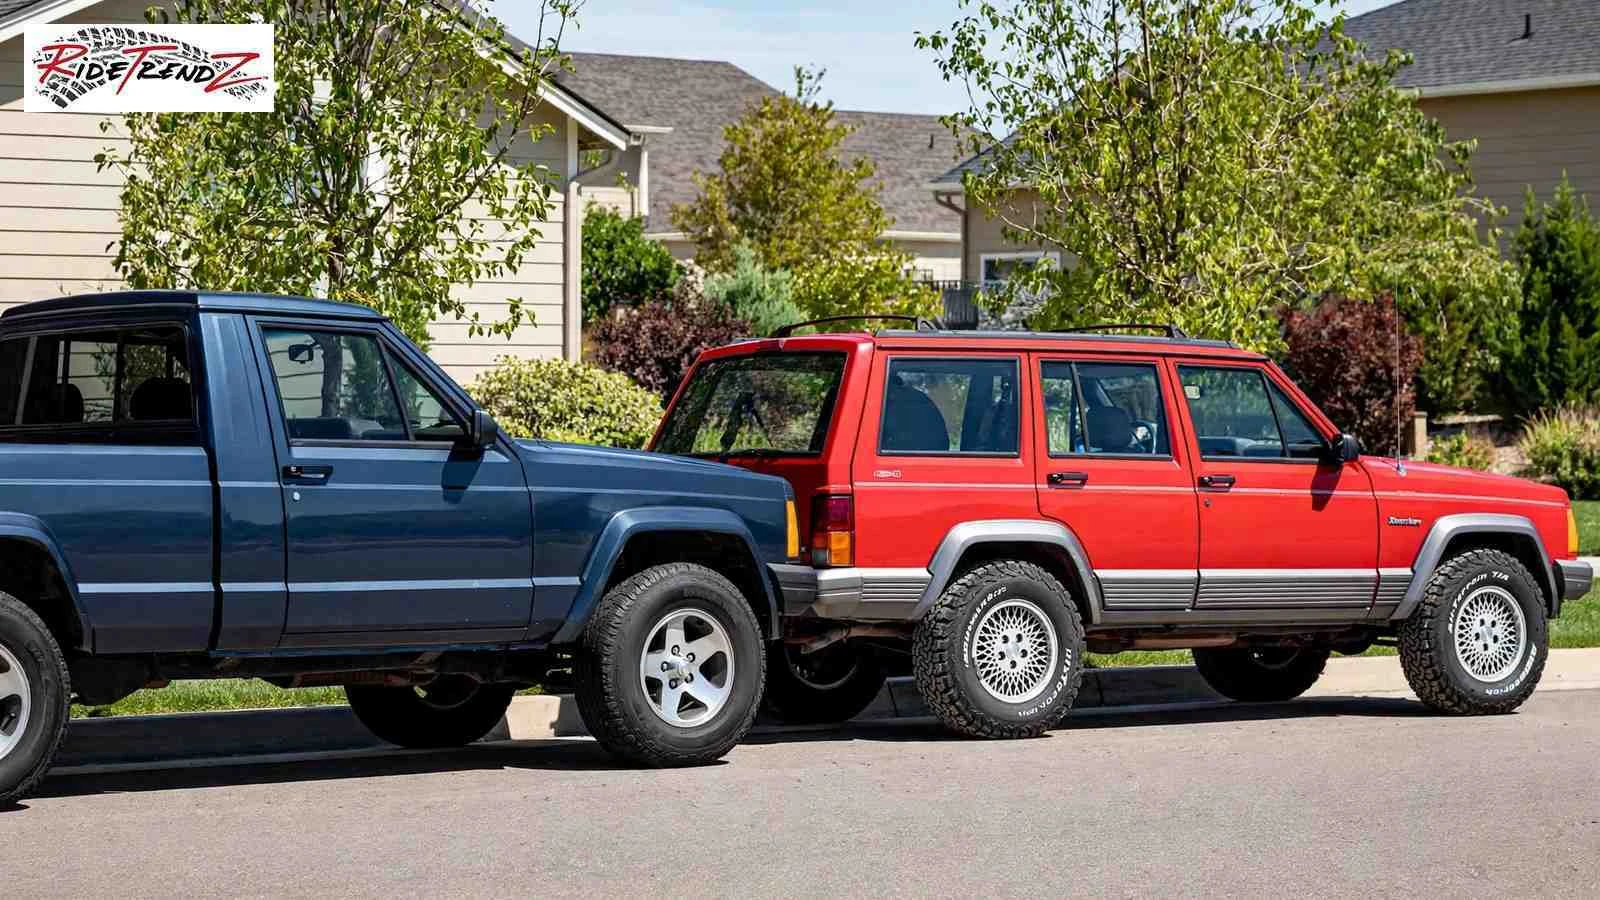
The Comanche MJ shares its front half with the Cherokee, so XJ spacers and steering parts cross over, while the rear uses longer pickup leaf springs. MJ owners lift the rear with truck specific shackles, such as the Comanche MJ adjustable rear lift shackles, with a matching MJ 2WD set for two wheel drive trucks.
Two wheel drive and four wheel drive notes
Two wheel drive Cherokees use the same front coil layout with a beam axle, so spacers fit the same and the job is quicker. Four wheel drive trucks add a transfer case and front driveshaft, where angle checks matter at taller heights. Ridetrendz lists shackles for both layouts, in 2WD form and 4WD form.
How much lift your jeep cherokee needs for your tires?
Tire size drives every budget boost decision, because the lift exists to clear rubber and little else. A budget lift at 2 inches clears the 30 inch tires most owners want for daily driving and weekend trails, without gearing changes or heavy trimming. Pick the tire first, then the smallest lift that clears it.
Staying at stock height tire sizes
A stock xj at stock height wears 225/75R15 rubber on most trims, and a 235/75R15 usually fits with no work at all. Anything wider kisses the lower control arms at full lock, and taller tires rub the flares once the springs sag. Owners staying stock should budget for fresh springs first.
A 2 inch boost and 30 inch tires
The recipe pairs a 2 inch boost with 30x9.50R15 tires, because the lift restores the arch room those tires need. Some trucks brush the lower control arm at full lock with wider rubber, solved with wheel offset or a steering stop tweak. Our guide to lift kits against leveling kits explains why this height suits mixed use.
|
Lift height |
Common tire fit |
What to expect |
|
Stock height |
225/75R15 or 235/75R15 |
Factory fit with no trimming |
|
2 inch boost |
30x9.50R15 |
Minor rub possible at full lock |
|
3 inch lift |
31x10.50R15 |
Some flare or arm contact on lock |
|
4.5 inch lift |
33x12.50R15 |
Trimming and gearing enter the plan |
When a 3 inch lift makes more sense?
A 3 inch lift earns its cost when the target is 31 inch tires, regular rock work, or a heavy bumper and winch package that sags springs. At 3 inches the list grows to full coils, leaf packs, longer shocks and a track bar fix, so it stops being a budget boost.
Front lift parts, spacers, coils and steering for the jeep cherokee
The front of the XJ does the steering and most of the braking, so lift parts deserve the closest look in any budget build. Spacers handle the lift, the coils keep their factory ride, and the steering geometry stays close to stock. This section walks the parts in order, front to back.
Poly and aluminum coil spring spacers
Spacers come in polyurethane and aluminum, and both space the coil from its seat by the puck thickness. Poly rides quieter and costs less, while aluminum shrugs off heat and trail abuse. The XJ aluminum coil spring spacers are the simple option, and our truck suspension basics guide explains spacer effects on spring working length.
Junkyard zj coils as a cheap upgrade
The smartest junkyard trick in the XJ world is a pair of front coils from a V8 Grand Cherokee ZJ, which commonly add about an inch with a firmer rate. A this budget lift built on ZJ coils and small spacers reaches 2 inches with a factory style ride. The ZJ front and rear spacer kit covers the Grand Cherokee side.
Steering, track bar and geometry at boost height
At 2 inches the steering linkage and track bar stay close enough to stock geometry that most trucks drive straight after an alignment. The track bar locates the front axle side to side, and lift shifts it slightly driver side. Measure centering after the install, and read how a suspension lift kit works for the full picture.
Rear lift parts for the cherokee leaf spring setup
The rear of the XJ rides on leaf springs, and that setup gives budget builders three ways to gain height. Shackles are easiest, an add a leaf adds height and load capacity, and bastard packs blend donor leaves into the stock rear springs. Blocks sit last, for reasons covered below.
Adjustable lift shackles and how they work
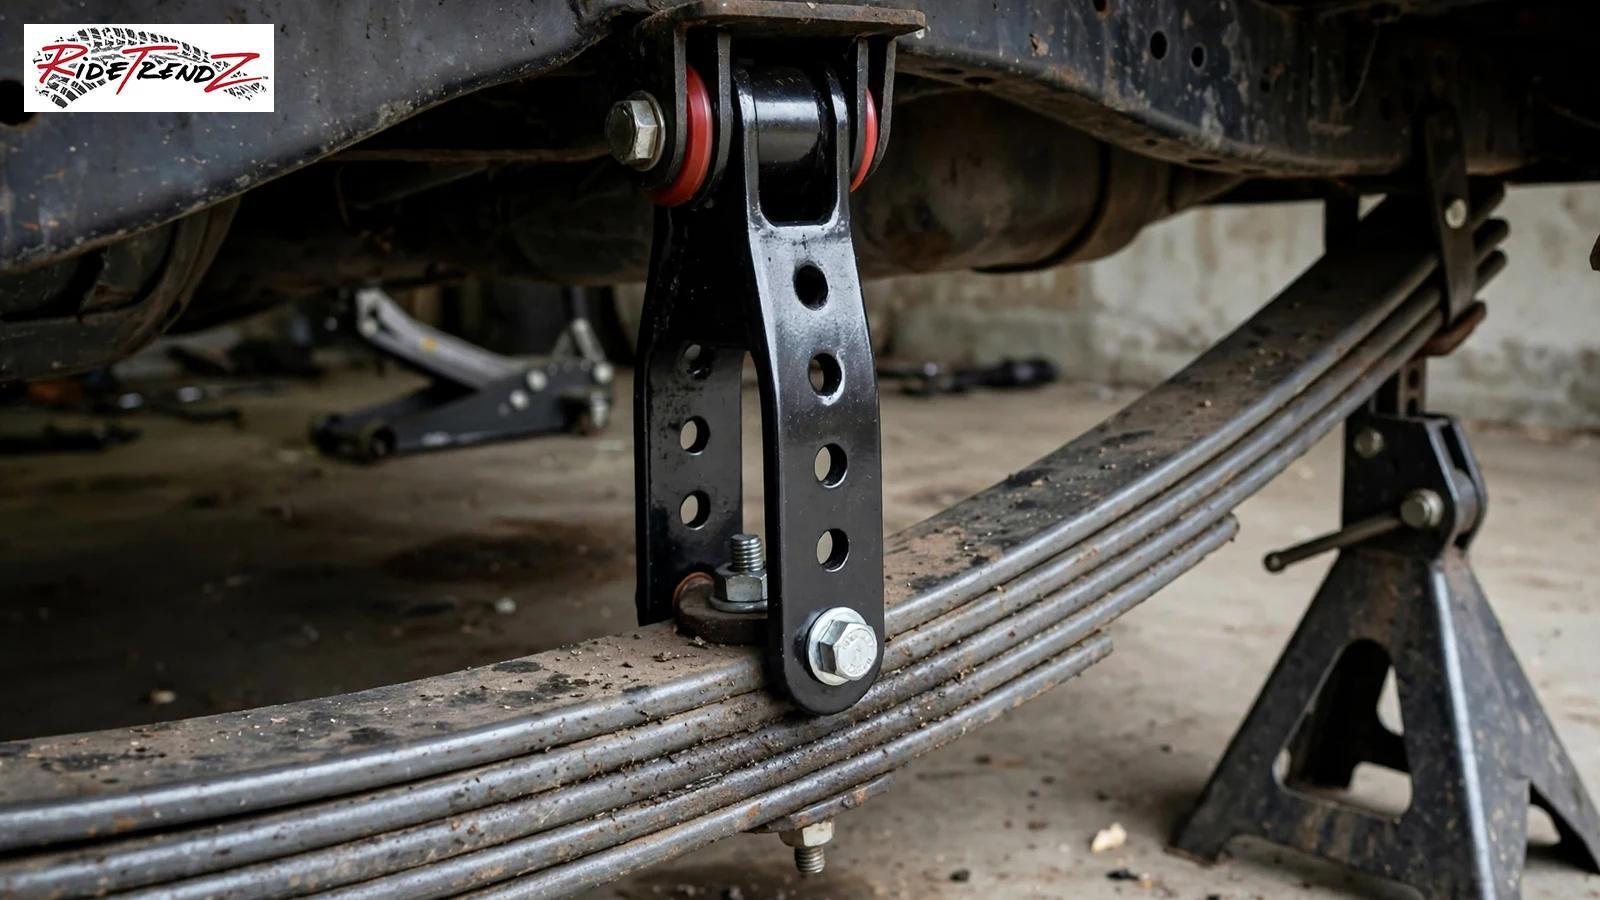
A longer rear shackle lets the leaf spring eye sit lower, and the body rises by roughly half the extra shackle length. Adjustable shackles add a second setting so one part covers 1 or 2 inches of lift, suiting owners who may go taller later. The XJ adjustable rear lift shackles in 4WD form are the standard pick for a the budget boost.
Add a leaf and bastard pack options
An add a leaf slides one extra leaf into the stock pack, gaining lift and fighting the sag in old rear springs. A bastard pack goes further, blending the stock main leaf with donor pack leaves, and the classic donor is a Chevy S10 pickup. The Chevy leaves cost little cash and real Saturday labour.
Lift blocks and why xj owners skip them
Blocks lift by spacing the axle from the leaf pack, and on the XJ they add leverage that wraps the springs under power. That wrap shows up as axle tramp, tired U bolts and cracked blocks on towing or climbing trucks. Shackles and leaves lift without the penalty, as our lift parts against complete kit guide explains.
Shocks, brake lines and the parts people forget
Small lifts live or die on small parts. Stock shocks, brake lines and bump stops were sized for stock travel, and a boost stretches each closer to its limit. Skipping the checks is how a cheap lift tears a brake line on the first trail day, so work through this list before driving.
When stock shocks still work?
At an inch or two, healthy stock length shocks usually cover the travel, because the boost changes ride height more than movement. Worn shocks are another story, since a tired damper will clunk and limit droop once the stock xj sits higher. Our comparison of lift shocks against stock shocks helps you judge your truck.
Longer shocks and shock extenders
Owners who wheel harder can step up to shocks built for 2 to 3 inches of lift, or fit shock extenders that win back lost droop travel. Either way the goal is keeping the damper mid stroke at the new height. A XJ budget boost stays honest when the shocks match the lift, so check extended and compressed lengths first.
Brake line slack and bump stop checks
Lift the truck, droop each axle fully on stands, and check the brake hoses and the rear hose above the axle. Slack should remain at full droop, with no hose pulled straight or rubbing a tire. Bump stops need the same check, and our lift kit lifespan and maintenance guide covers the recheck rhythm.
Driveline angles, sye and vibration checks on a lifted jeep
The XJ transfer case and driveshaft tolerate a budget boost gracefully, which is a big reason the recipe stays cheap. Angle changes stay small at 2 inches, the slip yoke keeps its range, and most trucks roll away vibration free. Taller lifts are where pinion angle and gearing demand real money.
Pinion angle and driveshaft basics
The pinion angle is the rear axle pinion angle against the driveshaft, and lift changes it as the axle drops away from the transfer case. Small changes are harmless, while bigger ones make the universal joints work at mismatched angles, felt as a hum under power. A 2 inch boost keeps angles near stock.
Transfer case drop versus a slip yoke eliminator
If a boosted truck buzzes, the cheap first fix is a small transfer case drop, spacing the crossmember down to soften the shaft angle. The proper fix at taller heights is a slip yoke eliminator, which swaps the slip yoke for a fixed flange and longer double cardan shaft. An sye belongs to taller builds.
Gearing for bigger tires
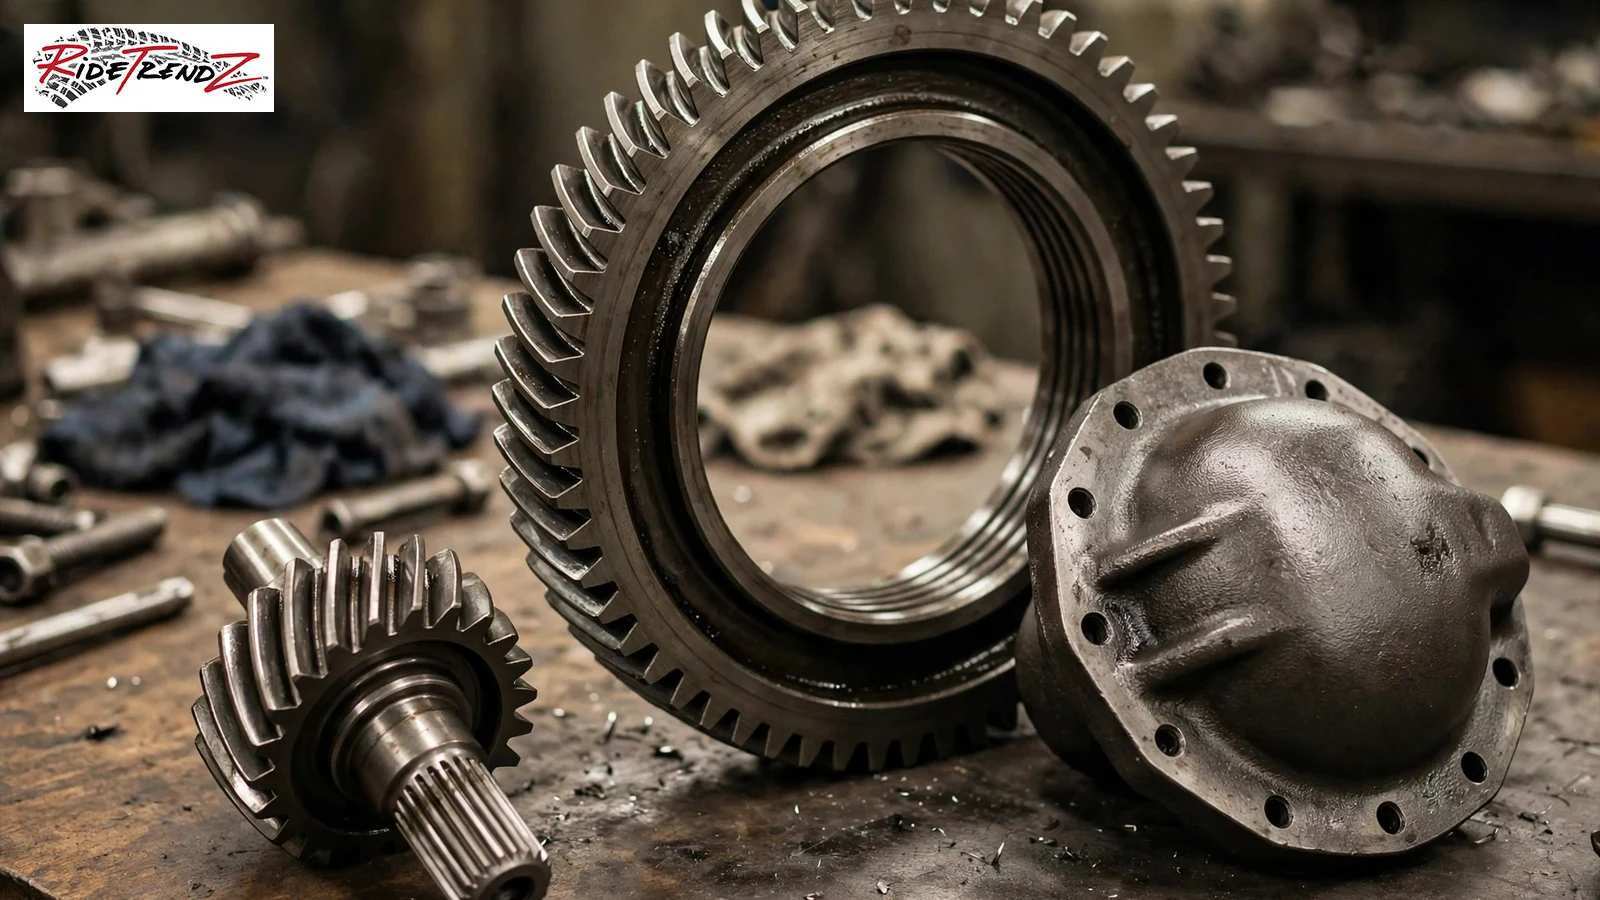
Taller tires change the overall gearing, making the truck feel lazier off the line and busier on hills as the engine works outside its sweet spot. At 30 inch tires the change is mild enough that most owners leave the axle gear alone, while 33s push toward a regear costing more than the boost.
Install steps for a weekend budget lift
A budget boost is a one day driveway job with hand tools, a floor jack and two pairs of stands, which is why owners start here. The work splits into front and rear sessions, and neither asks for a spring compressor if you let the axle droop. Keep this order and the truck stays safe.
Tools and prep before you start
Soak every coil seat bolt, shock mount and shackle bolt in penetrating oil the night before, because old hardware fights back. Work on flat ground, chock the wheels, and measure all four arch heights before lifting anything. Our suspension basics guide covers the safety habits that matter on home installs.
- Jack stands rated for the truck, never work under a jack alone
- Penetrating oil applied the night before
- Torque wrench for shackle and U bolt hardware
- Tape measure for before and after arch heights
Front spacer install order
The front session drops the axle far enough to slip each spacer over the coil, working one side at a time so the brake hoses never stretch. A this budget lift front install follows the same order on every year, and the XJ spacer kit page lists the hardware used. Take your time on the first side and the second goes faster.
- Support the frame on stands and let the front axle droop
- Unbolt the shock and sway bar link on the side you are fitting
- Lower the axle until the coil can slide free of its seat
- Seat the spacer on the coil, refit the spring and reconnect everything
- Repeat on the other side, then torque all hardware at ride height
Rear shackle install and the alignment check
The rear session swaps the shackles with the springs in place, the axle supported so the spring eye lines up without a fight. Fit the adjustable XJ rear shackles at the 2 inch setting for a level stance, then roll the truck to settle the springs before final torque. Book a front alignment within the week.
Ride quality, handling and daily drive manners
Owners worry that a cheap lift will ruin the daily drive, yet a boost done right mostly preserves XJ manners. The springs and rates stay stock, the steering geometry barely moves, and the truck gains clearance without tall lift float. The changes you do feel are real ones, and this section names them before you spend.
What changes in ride and steering feel?
Expect the same spring rate with a taller stance, a touch more body roll in corners, and steering that feels like stock once aligned. Bigger tires follow road grooves more and raise steering effort at parking speeds. Our lifted against lowered truck comparison puts those trade offs in a wider frame.
Death wobble and worn part issues
The XJ is famous for death wobble, a violent front end shake that worn track bar joints, tired bushings and loose steering parts trigger over bumps. A lift does not cause the issue, yet fresh height and bigger tires expose worn parts that were quiet before. Treat any shake as a parts inspection, track bar first.
Pros and cons of the budget route
The budget route trades ultimate height for price, speed and reversibility, and most owners find that trade fair for a daily driven XJ. Weigh the list against your plans, especially if rock crawling sits in your future, because the honest answer changes with the goal. A the budget boost is a starting point that keeps every later upgrade open.
Pros
- Lowest cost way to lift an XJ, with a short parts list
- Installs in a day with basic tools and no spring compressor
- Keeps stock springs, ride quality and steering manners
- Fully reversible if you ever sell or rethink the build
Cons
- Height caps out at an inch or two, so 33s stay out of reach
- Old sagging springs still need replacing on tired trucks
- No extra suspension travel over the stock setup
- Tall tire plans mean buying a full kit later anyway
Costs, junkyard hunting and forum wisdom for cherokee owners
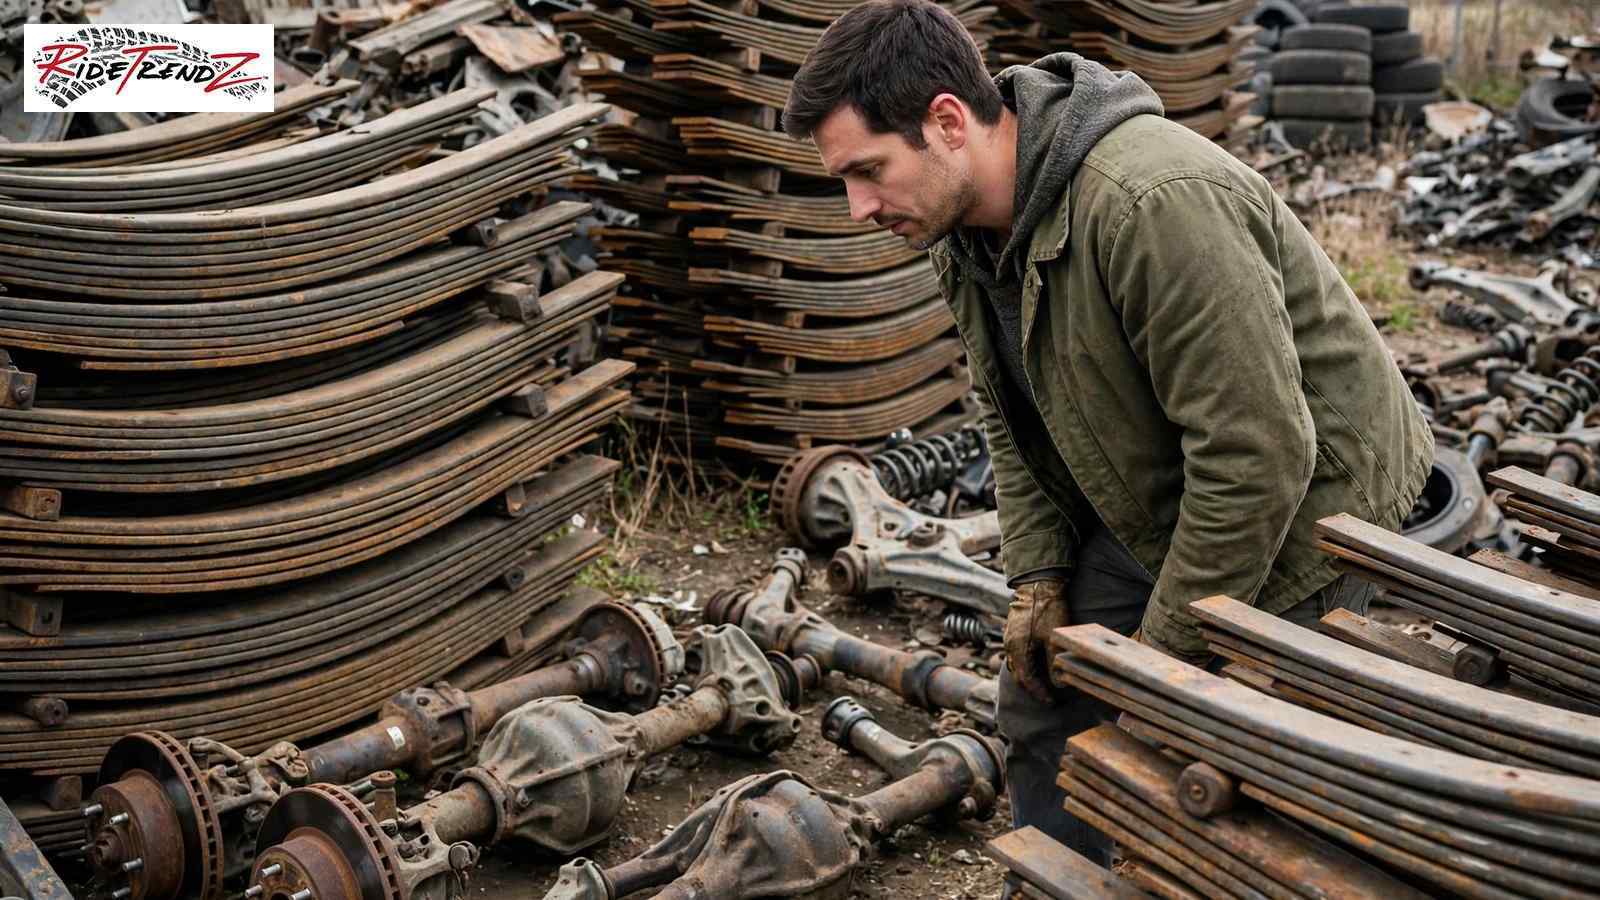
The money side splits into new hardware, junkyard finds and the small consumables every old truck demands. The boost stays cheap and budget friendly when owners buy safety critical parts new, hunt the rest at the yard, and lean on owner knowledge first. The forum threads and facebook groups hold that knowledge.
What the parts run on a tight budget?
New spacers and adjustable shackles form the core spend, staying modest because the parts are simple machined pieces, not full spring sets. Add an alignment, fresh hardware where bolts snap, and penetrating oil, and the total lands far below a full kit. Our truck lift cost guide breaks down where lift money goes.
Junkyard parts worth pulling
Good yards hide real value, starting with V8 ZJ front coils for the cheap inch, S10 leaf packs for bastard pack builds, and factory skid plates and tow hooks. Pull parts from trucks that died away from the suspension, skipping anything bent, cracked or rusted. A budget friendly build mixes these finds with new wear parts.
What the jeep cherokee forum crowd gets right
Spend time on any jeep cherokee forum or the big facebook groups and the same advice repeats, measure before you buy, fix worn parts before you lift, and align the truck after any height change. The facebook build threads also warn against stacking spacers and chasing height on sagged springs. That owner honesty is gold for a first build.
When to step up to a 3.5 or 4.5 inch lift?
Every budget build reaches a fork where the owner either settles at boost height or commits to a real lift. Taller tires, harder trails and heavy bumpers push toward the taller kits, and those kits ask for arms, a track bar and driveline work the boost never needed. This section marks the line.
Control arms and track bar upgrades at taller heights
Past 3 inches the stock front control arms run out of adjustment, caster suffers, and the ride turns harsh at the steep working angle. Longer or adjustable lower control arms restore the geometry, and an adjustable track bar centers the axle. At 3.5 inches these parts stop being optional, and at 4.5 longer brake lines join them.
Rock crawling goals change the math
Rock crawling rewards travel, gearing and armour more than raw height, and a crawler on 33s needs the full supporting cast of arms, sye, gears and protection. A XJ budget boost still serves the trail driver on forest roads and mild rock, yet owners aiming at ledges should save toward the complete kit. Our parts against complete kit guide walks that decision.
Buying parts once, in the right order
The wasteful path is buying taller spacers, then shocks, then arms, paying freight and labour three times for one truck. The smart path is deciding the final tire size first, then buying the kit that supports it in one pass. Boost parts resell easily, so an upgrade rarely strands the money spent at the start.
Why owners buy their xj lift parts from Ridetrendz?
A budget build still deserves correct parts, honest fitment notes and a team that answers when a bolt question stops your Saturday install. Ridetrendz stocks the spacers and shackles needed, lists year and drive fitment on every page, and talks owners out of parts their build does not need. The xj cherokee range is covered year by year.
The main kit and how to check your fitment
Start with the XJ 1984 to 2001 front aluminum coil spring spacers for the front lift, then match the rear with adjustable shackles in 4WD or 2WD form. Check your year, drive layout and tire size against the fitment notes, and ask the team first if your truck sits anywhere unusual, such as a Comanche swap.
Final takeaways before you order
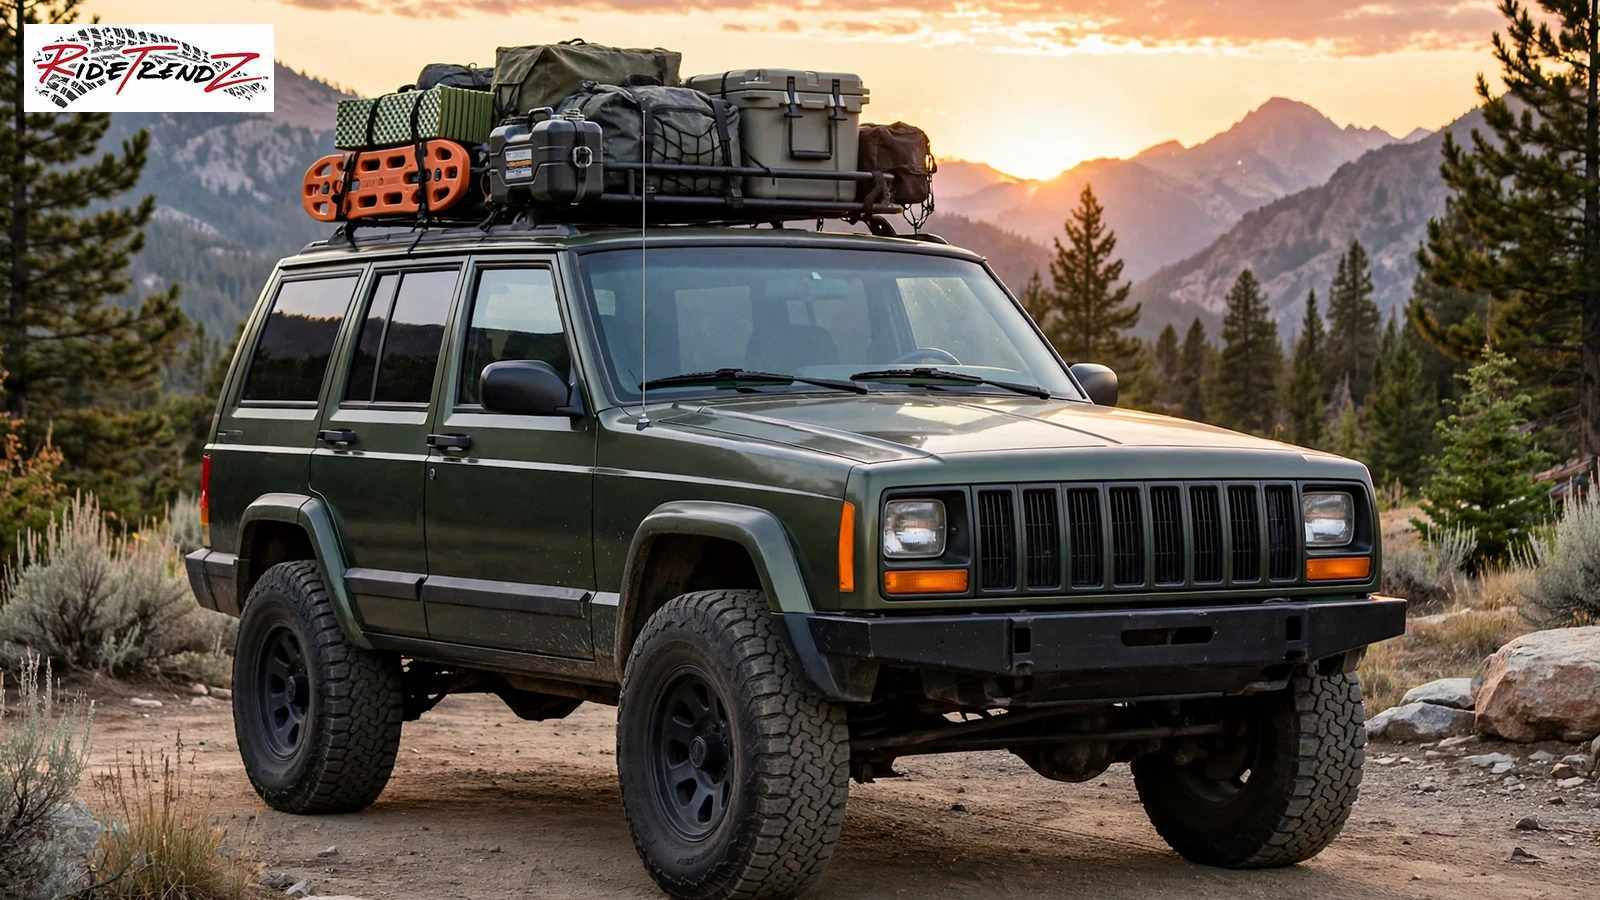
A boost works because it respects what the XJ is, a truck on springs that needs an inch or two to clear the tires owners run. Buy wear parts new, hunt the rest, and fix worn joints before blaming the lift. Your budget lift will drive like stock, sit ready for the trail, and checking fitment first is the best next step.
Frequently asked questions
How much lift does a budget boost add to a Cherokee XJ?
A budget boost adds 1 to 2 inches, with 2 inches the most common target. Front coil spacers set the height by their thickness, and rear shackles add roughly half their length at the spring eye. That inch or two is the whole point, since taller gains ask for springs, arms and driveline parts.
What tire size fits a lifted XJ on a budget boost?
Most owners run 30x9.50R15 tires on a 2 inch boost, and that pairing clears on street and trail with little or no trimming. A 31 inch tire wants a 3 inch lift to stay clear at full flex and full steering lock. Wider rubber can brush the lower control arms at full lock even at the right height.
Do I need new shocks with a 2 inch budget boost?
Healthy stock shocks work at 2 inches, because the boost changes ride height more than travel. Worn shocks are the exception, since a tired damper tops out and clunks once the truck sits higher. If your shocks are old, plan longer lift shocks or extenders in the same order and save a second teardown.
Will a budget boost cause driveline vibrations on my XJ?
Vibrations are rare at boost height, because a this budget lift barely changes the stock driveshaft and pinion angles. If a hum does appear under power, a small transfer case drop usually settles it. The slip yoke eliminator belongs to 3 inch and taller builds, where angles move far enough to demand a longer shaft.
Can I install a budget boost in my driveway in one day?
Yes, a budget boost is a classic one day driveway job with a floor jack, stands and hand tools. Front spacers go in one side at a time with the axle drooped, and rear shackles swap with the springs in place. Soak the hardware in penetrating oil the night before and the day stays pleasant, no bolt fight.
How does Ridetrendz help me check fitment before I order?
Every Ridetrendz product page lists the years, drive layout and lift height the part fits, so you can match parts to your exact Cherokee or Comanche before paying. The team answers fitment questions directly, which matters on older trucks with swapped axles or sagging springs. That check takes minutes and prevents the classic wrong part weekend.
Source: Wikipedia, Jeep Cherokee (XJ)