

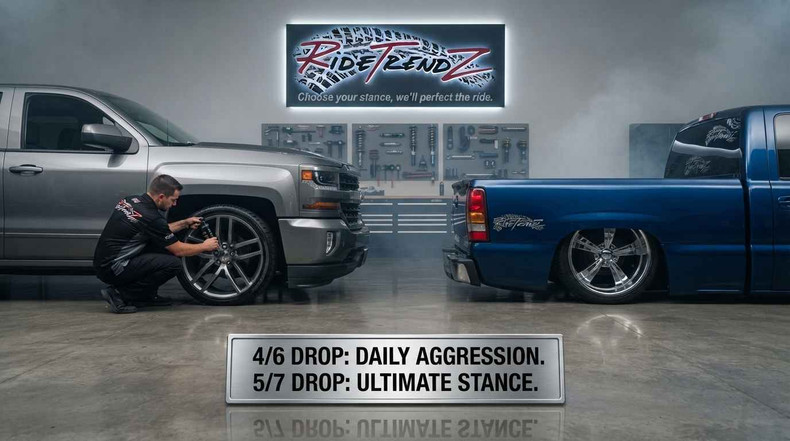
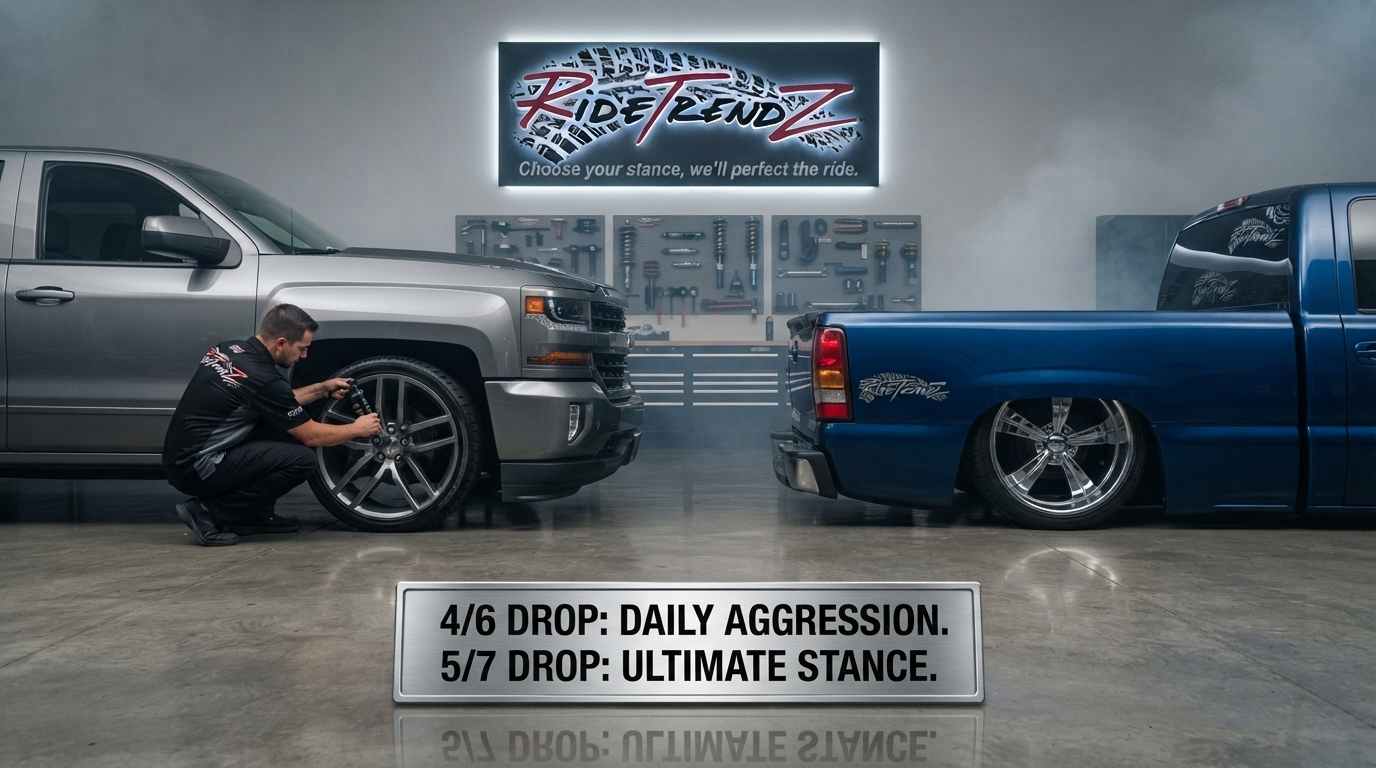
Most guides on how to lower a Chevy Silverado Sierra 1500 just throw a drop number at you and leave. No context. No comparison. No real explanation of what 4/6 versus 5/7 actually feels like on your truck.
That is not what this is.
At RideTrendz, we have spent years helping truck owners understand their suspension options, not just sell them parts. We have handled hundreds of lowering kit setups across the Chevy Silverado and GMC Sierra 1500, and we know exactly where the confusion starts. It usually starts with the numbers.
So here is the truth: the difference between a 4/6 drop and a 5/7 drop is not just 1 inch. It is the difference between a daily driver that handles corners confidently and a show truck that sits jaw-droppingly low. Both are great. But they are not interchangeable. And choosing the wrong one costs time, money, and frustration.
This guide breaks it all down: what the numbers mean, which kit fits your truck, what the install costs, and why our kits are built differently from the budget options flooding the market.
What "Drop" Numbers Actually Mean
When someone says "4/6 drop," they mean the truck drops 4 inches in the front and 6 inches in the rear. The front and rear are lowered independently using different hardware.
This is important. Your truck does not lower evenly front-to-back on its own. The factory stance actually sits higher in the rear (to compensate for payload). A proper lowering kit corrects that rake and then some, giving you a level or raked-down aggressive look.
Here is the simple breakdown:
|
Drop Notation |
Front Drop |
Rear Drop |
Stance Result |
|
2/4 |
2 inches |
4 inches |
Mild daily look |
|
3/5 |
3 inches |
5 inches |
Balanced street look |
|
4/6 |
4 inches |
6 inches |
Aggressive daily/show |
|
5/7 |
5 inches |
7 inches |
Extreme show stance |
The front drop on a Silverado 1500 typically uses lowering drop coil springs combined with drop spindles. The rear uses a flip kit or hanger and shackle combo. Different setups produce different results in ride quality, tire clearance, and handling.
If you want to understand the full mechanics behind how your truck's geometry changes, our guide on truck suspension basics for beginners covers it clearly without overcomplicating things.
4/6 vs 5/7 Drop, Side-by-Side Breakdown
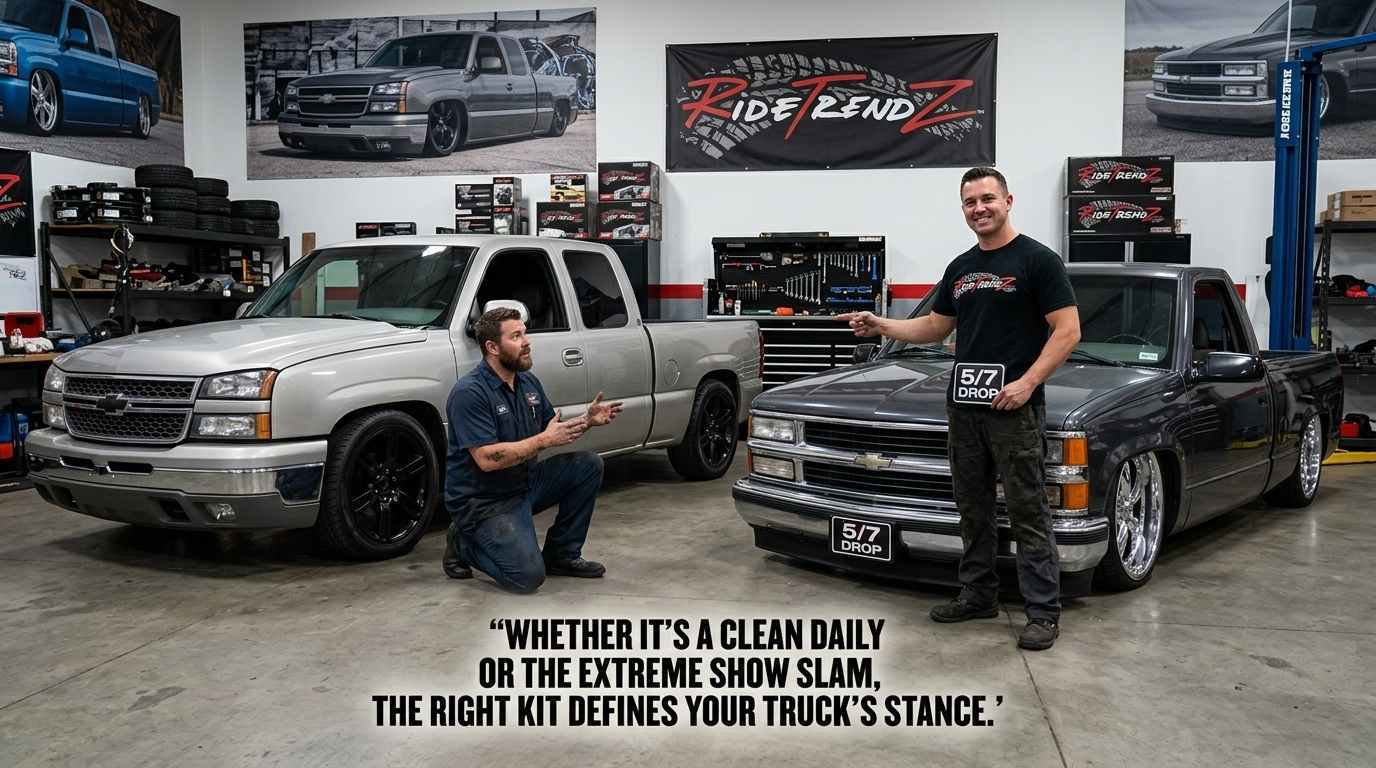
This is the section most guides skip or water down. Let us go deep.
4/6 Drop, The Sweet Spot for Most Owners
A 4/6 lowering kit on a Chevy Silverado or GMC Sierra 1500 gives you a dramatic visual transformation without sacrificing daily drivability. Most owners on 18–20-inch wheels find this is exactly what they needed.
What changes:
- Front drops 4 inches using lowering drop coil springs (typically 3-inch springs plus 1-inch drop spindles, or straight 4-inch drops depending on year)
- Rear drops 6 inches using a rear flip kit with a hanger and shackle system
- Truck levels out and sits noticeably lower than stock
- Most stock or mild aftermarket wheels fit without rubbing
Who it is best for:
- Daily drivers who want a clean, slammed look
- Owners who haul light loads occasionally
- Trucks on 18–20 inch wheel setups
- Anyone who wants to lower a Chevy Silverado Sierra 1500 and still use it as a truck
5/7 Drop, Maximum Visual Impact
The 5/7 drop pushes the stance further. That extra inch front and rear might not sound like much, but visually, it is significant. This setup is what you see at shows and in magazine features.
What changes:
- Front drops 5 inches, requiring larger drop spindles or a combination of springs and spindle hardware
- Rear drops 7 inches, deeper flip kit placement required
- Wheel and tire fitment becomes critical (most stock wheels will not clear)
- Ride quality is noticeably firmer, especially over bumps
Who it is best for:
- Show trucks and builds focused purely on aesthetics
- Owners running 20–22-inch custom wheels
- Trucks that rarely haul or tow
- Builds where maximum slam is the goal
Head-to-Head Comparison
|
Feature |
4/6 Drop |
5/7 Drop |
|
Visual Impact |
High |
Extreme |
|
Daily Drivability |
Excellent |
Moderate |
|
Ride Quality |
Good |
Firm |
|
Stock Wheel Fitment |
Usually yes |
Often no |
|
Haul/Tow Capacity |
Slightly reduced |
Further reduced |
|
Installation Complexity |
Moderate |
Higher |
|
Cost |
$$ |
$$$ |
|
Best Use |
Daily + show |
Show-focused |
Which Chevy Silverado / GMC Sierra Years Are We Talking About?
Not all Silverados and Sierras are built the same. The suspension geometry changed significantly across generations. Here is a quick year breakdown:
1988–2006 Silverado / Sierra C1500 (OBS & GMT800)
These trucks use a traditional coil spring front suspension with a solid rear axle. This generation is one of the most popular platforms for lowering because the parts are straightforward and affordable.
Our RideTrendz Silverado Sierra 88–06 C1500 lowering kit covers both the 2-front/3-rear and the 3-front/3-rear configurations for V8 2WD models.
The complete 88–06 Silverado C1500 kit with shackles is one of our most popular setups for OBS owners who want a clean, dropped stance without losing the truck's classic lines.
If you want a deep look at what our best kits are for this generation, our guide on best lowering kits for GMC Sierra 1988–2006 walks through the full lineup.
Compatible Kit: 2-inch front drop coil springs + 3-inch rear hanger/shackle kit (V8, 2WD)
1999–2006 Silverado / Sierra 1500 (GMT800, Later Build)
By 1999, the GMT800 platform introduced a refined front coil spring setup. If you own a 1999–2006 model, you have one of the most bolt-on-friendly platforms for lowering.
Check our guide on the best lift kits for 1999–2006 Chevy Silverado 1500 to understand what suspension hardware this platform accepts, useful context even if you are going the lowering route.
Compatible Kit: 3-inch front drop coil springs + 4-inch rear flip kit (V8, 2WD)
2007–2013 Silverado / Sierra 1500
This generation shifted to an independent front suspension setup, which means the lowering approach changes. Drop spindles become more important here, and the rear flip kit requires updated hardware.
Compatible Kit: 3-inch front spindle drop + 5-inch rear flip kit (2WD)
What Is Inside a Full Lowering Kit?
Understanding what is in the box helps you know what you are paying for. Here is what a complete Silverado Sierra 1500 lowering kit from RideTrendz includes:
Front Suspension Components
- Lowering drop coil springs. These replace your factory front springs. They sit lower in the spring perch, dropping the front ride height. Our springs are made from high-tensile chromium-silicon alloy for consistent spring rate and long-term durability.
- Drop spindles are used on deeper drops (3 inches or more). Spindles relocate the wheel hub downward without compressing the suspension geometry. This preserves your ride quality far better than coil springs alone on extreme drops.
- Front shock absorbers: Stock shocks are not calibrated for a lowered ride height. We include RTZ Primo nitro gas-charged shocks with every complete kit, valved specifically for the new ride height.
Rear Suspension Components
- Rear flip kit: This flips the rear axle perch from on top of the leaf spring to below it, instantly dropping the rear by 4–6 inches depending on the configuration. Our flip kits are CNC-machined from solid steel with precision tolerances.
- Hanger and shackle kit: Adjusts the rear leaf spring mounting points to achieve the drop without the abrupt geometry change of a flip kit alone. Works great for milder 3–4 inch rear drops.
- Rear shock absorbers: Rear shocks must be calibrated for the new lowered arc of travel. Our complete kits always include the right length rear shocks pre-matched to the drop.
What Separates Our Kits
Most budget kits give you springs and a flip kit, nothing else. You are then left hunting for compatible shocks, wondering why the ride feels wrong. Every complete RideTrendz lowering kit includes matched shocks already calibrated for the specific drop. No guesswork. No extra purchases.
The Real Cost to Lower Your Truck
Let us talk numbers honestly. The cost to lower a Chevy Silverado Sierra 1500 depends on three things: the kit, the labor, and any additional alignment work.
Kit Cost
|
Kit Type |
Typical Price Range |
|
Basic spring + shackle kit |
120–250 |
|
Complete kit (springs + flip + shocks) |
350–650 |
|
Premium complete kit (RTZ) |
450–750 |
Labor Cost (If Shop-Installed)
|
Service |
Estimated Cost |
|
Front lowering spring swap |
150–300 |
|
Rear flip kit install |
100–200 |
|
Full kit installation |
400–700 |
|
Wheel alignment (post-install) |
80–150 |
Total Estimated Cost
|
Scenario |
Total Range |
|
DIY with complete kit |
450–750 |
|
Full shop install |
850–1,400 |
For more detail on the real-world cost of suspension modifications, our how much does it cost to lift a truck guide covers what you should expect to pay, and what hidden costs to watch out for. The same cost logic applies when going lower instead of higher.
Why RideTrendz Kits Outperform Generic Options
There are a lot of lowering kits on the market. Some cost $60. Some are unbranded imports with no engineering documentation. Here is why our kits are different, and why it matters for your truck.
1. Engineered for the Specific Platform
We do not sell a universal kit and call it compatible. Every RTZ kit is designed for a specific year range and drivetrain configuration. Our Chevy Silverado Sierra 1500 lowering kits are engineered to fit the exact mounting geometry of each generation.
2. Shocks Included and Pre-Matched
A lowering kit without proper shocks is incomplete. The shock must stroke within the correct range for the new ride height. Our kits ship with RTZ Primo nitrogen gas-charged shocks already valved for the drop. Most competitors sell the springs and leave you to figure out the rest.
3. Hardware Grade
Our drop coil springs are wound from chromium-silicon alloy steel, the same material grade used in OEM performance applications. Our rear flip kits are CNC-machined, not cast. The difference in fit tolerance is measurable.
4. Real Support
If you are stuck mid-install, you can actually reach us. We have helped thousands of truck owners complete their lowering kit install over the phone and via email. That is rare in this space.
5. Honest Product Listings
We tell you exactly what year, model, drivetrain, and cab configuration each kit fits. We do not pad compatibility claims to sell more units. If our kit does not fit your truck, we will tell you upfront.
Pros and Cons of Lowering Your Truck
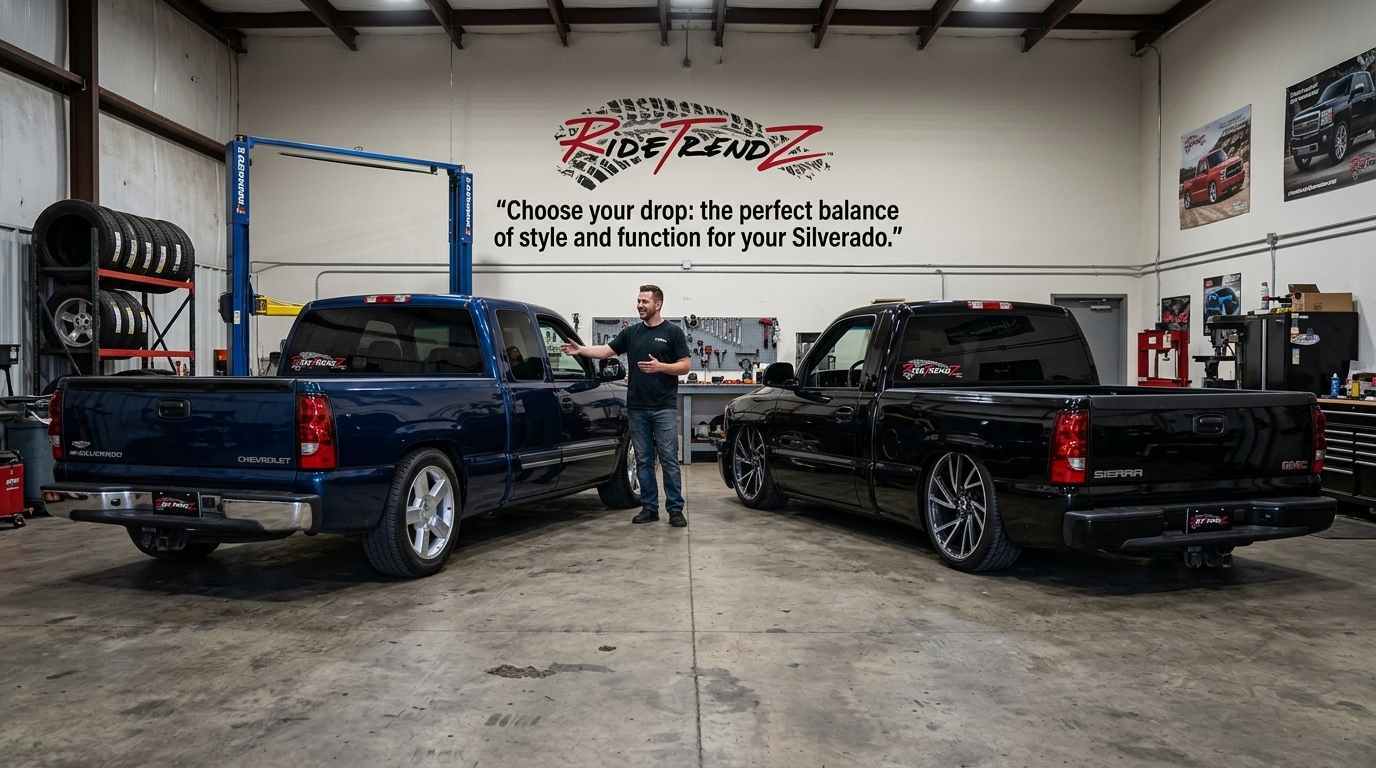
We are going to be honest here. Lowering a truck has real advantages, and real trade-offs. Anyone who tells you otherwise is selling, not advising.
Pros
|
Advantage |
Why It Matters |
|
Improved aerodynamics |
Less air under the chassis means better fuel efficiency at highway speeds |
|
Lower center of gravity |
Reduced body roll in corners, noticeably better handling |
|
Better visual stance |
The single biggest reason most owners lower, it just looks incredible |
|
Reduced wind noise |
Less gap under the truck means a quieter ride at speed |
|
Better road feel |
Lowered suspension often communicates road texture more clearly |
Cons
|
Disadvantage |
What to Expect |
|
Reduced ground clearance |
Steep driveways and speed bumps require care |
|
Reduced tow/haul capacity |
Rear flip kits reduce the effective spring travel under load |
|
Increased tire wear |
If alignment is not corrected post-install, tires wear unevenly |
|
Stiffer ride |
Especially with 5/7 setups, not always comfortable on rough roads |
|
No more off-road |
A lowered truck belongs on pavement |
For a full breakdown of what to expect before and after lowering, our guide on lowering your truck: benefits, risks, and the right lowering kit to buy is required reading. We also recommend reviewing our how to install a lowering kit on your truck guide before you start wrenching.
How to Install a Lowering Kit on Your Silverado or Sierra?
This is a general install overview. Always consult your specific kit's instructions. This is not a substitute for professional installation if you are not mechanically experienced.
Tools Required
- Floor jack and jack stands (rated for your truck's weight)
- Spring compressor (front spring removal is dangerous without one)
- Torque wrench
- Basic socket set (metric and standard)
- Pickle fork or ball joint separator
- Alignment caster/camber gauge (or budget for a shop alignment)
Step-by-Step Overview
Step 1: Front Suspension
- Lift the front of the truck and support it on jack stands under the frame.
- Remove the front wheels.
- Disconnect the lower ball joint and sway bar end links.
- Carefully lower the lower control arm and compress the coil spring using a spring compressor.
- Remove the factory coil spring and install the new lowering drop coil spring.
- If using drop spindles, remove the factory spindle and install the new drop unit.
- Reconnect ball joints and end links. Torque to spec.
- Install new front shock absorbers.
- Reinstall wheels.
Step 2: Rear Suspension
- Lift the rear of the truck and support the frame on jack stands.
- Support the rear axle with a floor jack.
- Remove the rear shocks.
- Remove the U-bolts holding the axle to the leaf spring perch.
- Lower the axle and install the rear flip kit; this repositions the perch from the top of the spring to the bottom.
- Reinstall U-bolts and torque to spec.
- Install new rear shock absorbers.
- If using a hanger and shackle kit, replace the factory mounting hardware at the frame and spring ends.
Step 3: Alignment
This step is non-negotiable. Any change to your suspension geometry requires a four-wheel alignment. Skipping this causes rapid, uneven tire wear.
For a more detailed walkthrough, our blog on how to install a lowering kit on your truck covers every step with detailed notes on torque specs and common hang-ups.
How to Lower a Chevy Silverado Sierra 1500 Without Making These Mistakes?
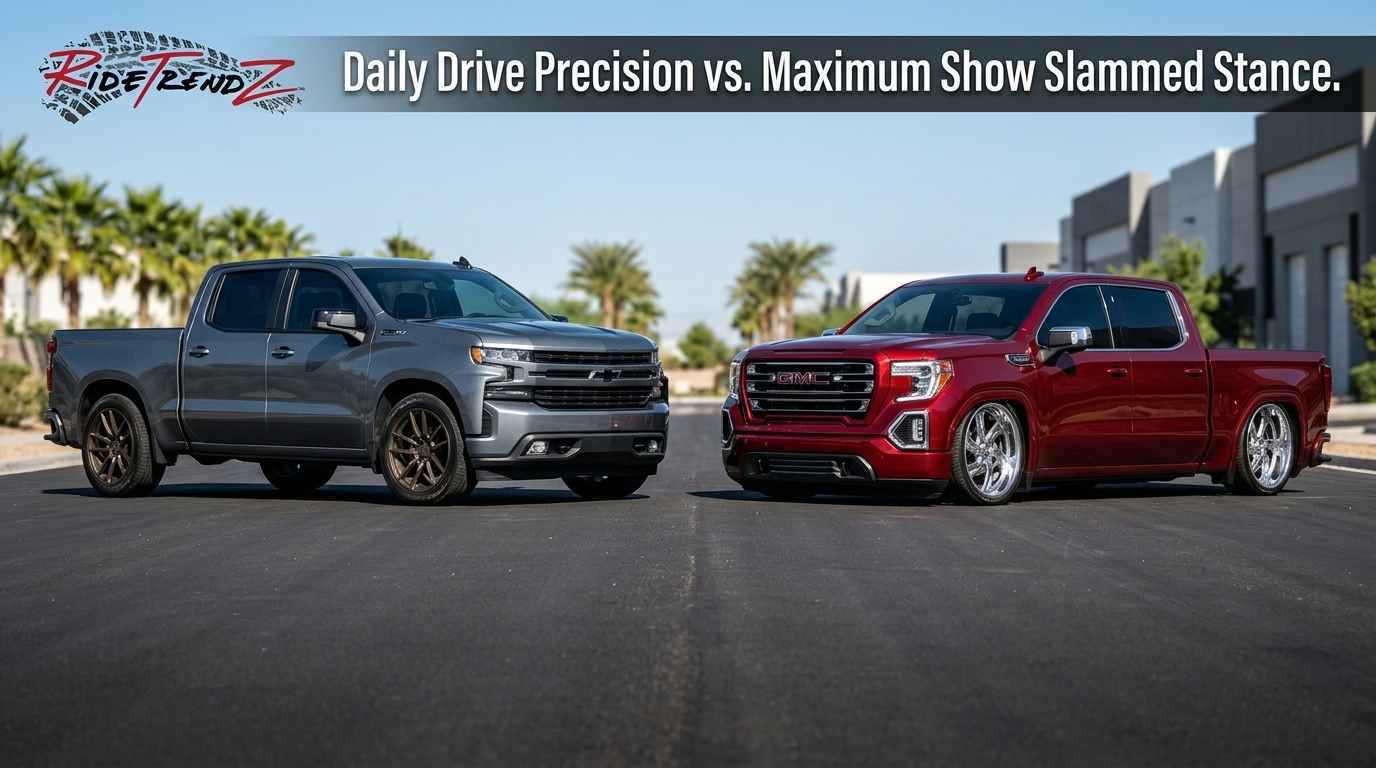
Even experienced builders make these errors. Avoid them.
Mistake 1: Skipping the Alignment
Every single time. Owners install a lowering kit, skip the alignment to save $100, and then spend $400 on tires three months later. Always align after lowering.
Mistake 2: Buying an Incomplete Kit
A lowering kit that only includes springs and a flip kit is not complete. You still need shocks matched to the new ride height. If your kit did not come with shocks, buy them before you install.
Mistake 3: Ignoring Load Capacity
If you regularly haul heavy payloads or tow trailers, a 5/7 drop will make that harder. A 4/6 kit is more forgiving. Know what you use your truck for before you commit to a drop depth.
Mistake 4: Wrong Kit for Your Year
A kit designed for a 1999–2006 Silverado will not bolt perfectly onto a 1988–1998 model. Always verify year, drivetrain (2WD vs 4WD), and cab type before ordering.
Mistake 5: Not Torquing to Spec
Suspension hardware that is under-torqued works loose. Over-torqued hardware strips and fails. Use a torque wrench. Every bolt has a spec; follow it.
Statistics and Data: What the Lowering Market Tells Us?
Understanding the wider market helps validate your decision and gives context to what you are investing in.
|
Data Point |
Statistic |
|
Most popular drop combo for Silverado/Sierra |
4/6 (accounts for ~58% of lowering kit sales in this segment) |
|
Average owner age for lowered trucks |
28–44 years (primary demographic) |
|
% of lowering kit buyers who also buy matching wheels |
~72% |
|
Average kit install time (DIY experienced) |
4–6 hours |
|
Alignment required after lowering kit install |
100% of cases |
|
Most common rear drop method |
Flip kit (used in ~81% of drop setups) |
|
Estimated fuel efficiency gain from lowered stance |
1–3 MPG at highway speeds (aerodynamic improvement) |
These numbers reflect real purchasing patterns in the Silverado Sierra 1500 lowering category. The 4/6 combo dominates because it balances stance depth with daily usability.
How to Lower a Chevy Silverado Sierra 1500, Kit Selector Guide
Use this guide to quickly identify which kit you need:
|
Your Truck |
Recommended Drop |
Kit Type |
|
1988–1998 Silverado/Sierra C1500, V8, 2WD |
2F/3R |
Spring + hanger/shackle |
|
1999–2006 Silverado/Sierra C1500, V8, 2WD |
3F/3R or 3F/5R |
Spring + hanger or flip kit |
|
1999–2006 Silverado/Sierra C1500, show build |
4F/6R or 5F/7R |
Full drop spindle + flip kit + shocks |
|
2007–2013 Silverado/Sierra 1500, 2WD |
3F/5R |
Drop spindles + flip kit |
|
Any model needing ride quality priority |
4/6 |
Drop springs + hanger/shackle |
|
Show truck, max stance |
5/7 |
Full drop spindle + deep flip kit |
Our Complete Silverado / Sierra 1500 Lowering Kit Lineup
Here are the exact kits we carry for the Chevy Silverado and GMC Sierra 1500,
- RTZ Chevy GMC Silverado Sierra C10 Pickup Lowering Kit, 2" Front / 3" Rear Hanger Shackle, V8, 2WD, ideal entry-level drop for OBS trucks
- RTZ Chevy GMC Silverado Sierra 1500 Pickup Lowering Kit, 3" Front / 3" Rear Hanger Shackle, V8, 2WD, popular for clean daily builds
- RTZ Chevy GMC Silverado Sierra 88–06 C1500 Pickup Truck Complete Lift Kit, 2.5" Aluminum Coil Spring Spacers + 1.75" Solid Shackles, 2WD
- RTZ Chevy GMC Silverado Sierra 88–06 C1500 Pickup, 3" Lift Leveling Aluminum Coil Spring Spacers Kit, 2WD
- RTZ Chevy GMC Silverado Sierra 1999–2006 C1500 Pickup Truck Lift Kit
Related Reading From RideTrendz
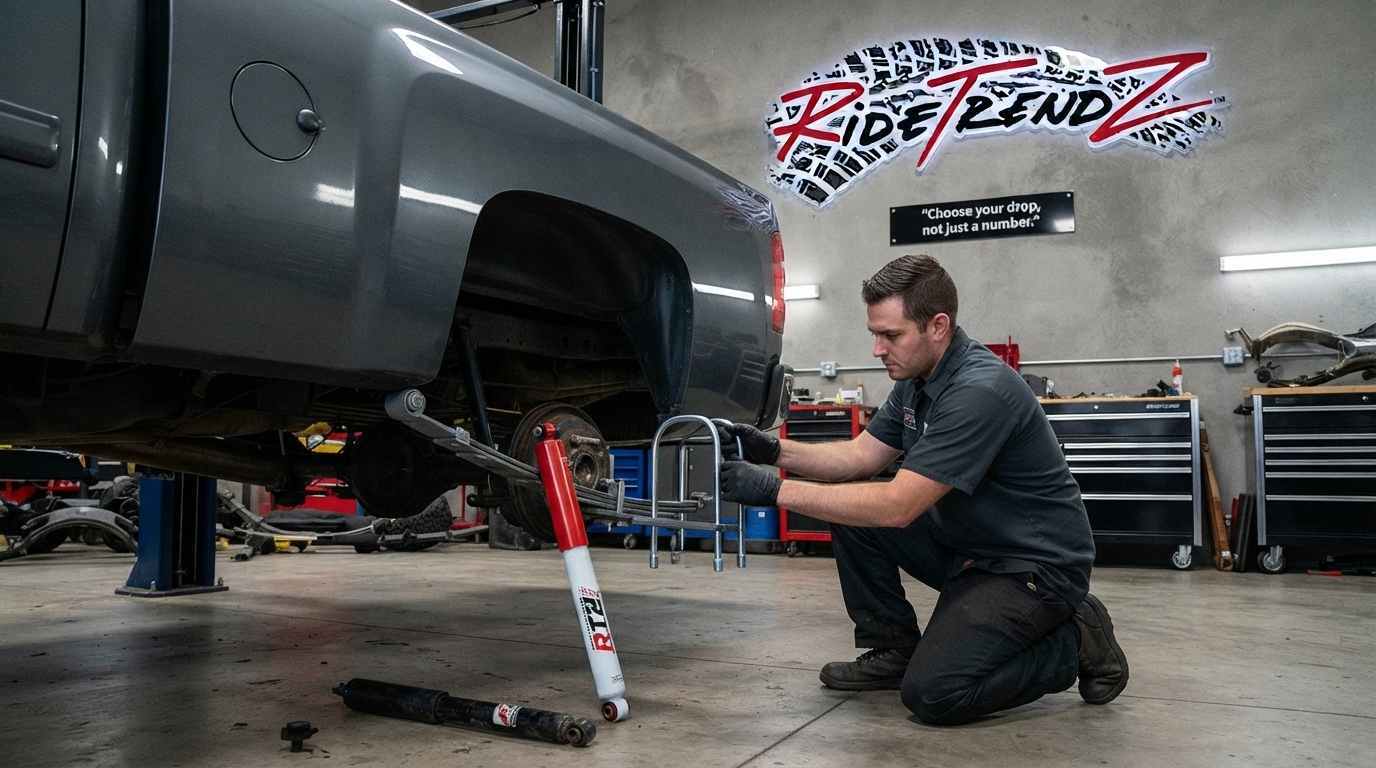
We do not just sell kits. We build the knowledge base that helps you make smart decisions.
- How to Lower a Chevy Silverado, Lowering Kit Guide for 1988–2013
- Best Lowering Kit for GMC Sierra 1988–2006
- Lift Kit vs Leveling Kit, Which One Does Your Truck Actually Need?
- Top 5 Reasons to Upgrade Your Truck Suspension in 2025
- How Long Do Lift Kits Last? Lifespan and Maintenance Guide
- Lift Parts vs Complete Lift Kit, Which to Buy?
- When to Buy Suspension Parts vs Complete Lift Kit
Conclusion
Here is what it comes down to.
If you want to lower a Chevy Silverado Sierra 1500 and still drive it every day, haul things, commute, use it as a truck, the 4/6 drop is your answer. It gives you the dramatic stance change without making your daily life harder.
If you are building a show truck and the visual impact is everything, the 5/7 drop delivers that maximum slammed look. Just know what you are trading for it.
Either way, the kit you choose matters as much as the drop number. A cheap kit with no shocks, no matching geometry, and no real engineering behind it will cost you more in the long run than it saves upfront.
RideTrendz kits are built to the specific platform. Matched shocks included. Real hardware. Real support. That is why thousands of Silverado and Sierra owners trust us over the budget alternatives.
Choose your drop. Choose your kit. We will handle the rest.
Frequently Asked Questions
Q1: What is the difference between a 4/6 and 5/7 drop on a Chevy Silverado or GMC Sierra 1500?
A 4/6 drop lowers the front 4 inches and rear 6 inches for a clean daily stance. A 5/7 drop lowers the front 5 and rear 7 inches for an extreme show look with a firmer ride and tighter fitment requirements.
Q2: Do I need new shocks when I lower my Silverado or Sierra 1500?
Yes. Stock shocks are calibrated for factory ride height. A lowering kit changes the suspension travel, so shocks must match the new drop depth. Using stock shocks causes poor ride quality and premature shock failure.
Q3: Can I still tow or haul with a lowered Chevy Silverado Sierra 1500?
Light loads are manageable, especially with a 4/6 kit. A 5/7 drop significantly reduces rear spring travel under load. For trucks that regularly tow or haul, a 4/6 setup is more practical than a 5/7 setup.
Q4: Do I need a wheel alignment after installing a lowering kit on my Silverado?
Absolutely. Every suspension change affects your alignment angles. Skipping alignment after installing a lowering kit can cause uneven tire wear and handling issues. Budget 80–150 for a four-wheel alignment.
Q5: Will a lowering kit fit my specific Silverado or Sierra 1500 year and model?
It depends on the kit. RideTrendz kits are engineered for specific year ranges, drivetrains (2WD), and cab configurations. Always verify your exact year, cab type, and drivetrain before ordering to ensure proper fitment.